Monthly Archives: November 2015

Glacier

glacier full front

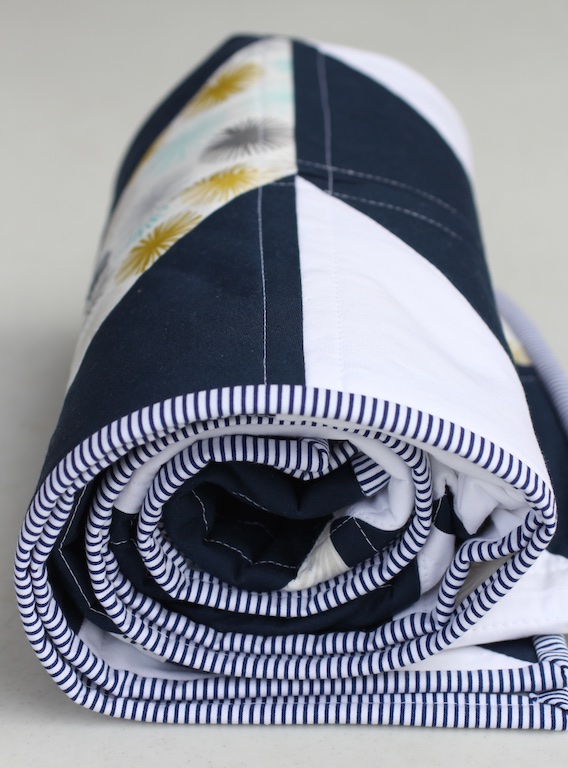
I finished this quilt this week and the name seemed appropriate because we got about ten inches of snow in this part of Michigan – the very first snow of the season!  But being stuck in the house for two days allowed me to get the backing, basting and quilting finished for this.

michigan snow

glacier full back

cloud 9 fabric for glacier quilt

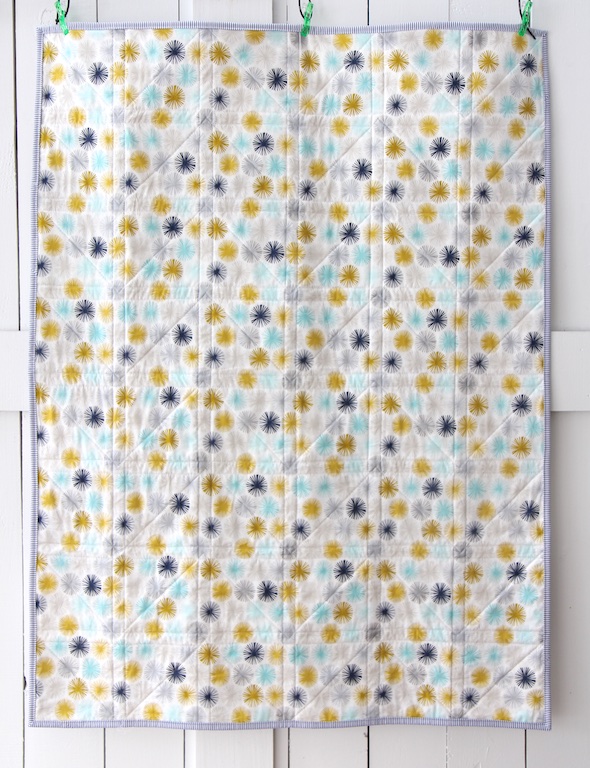
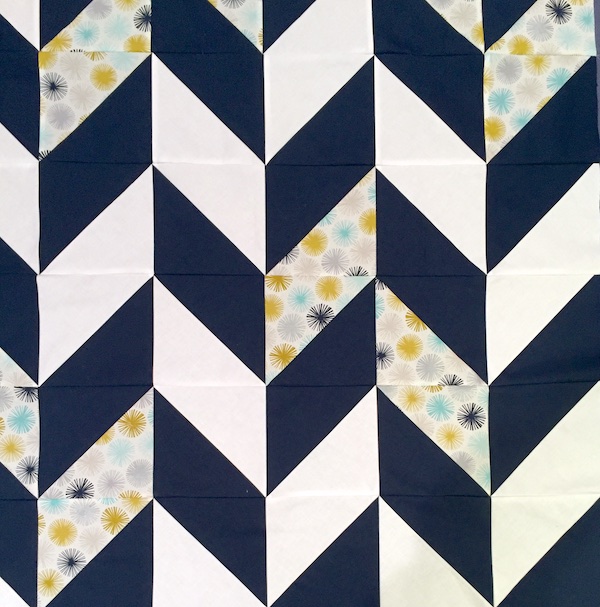
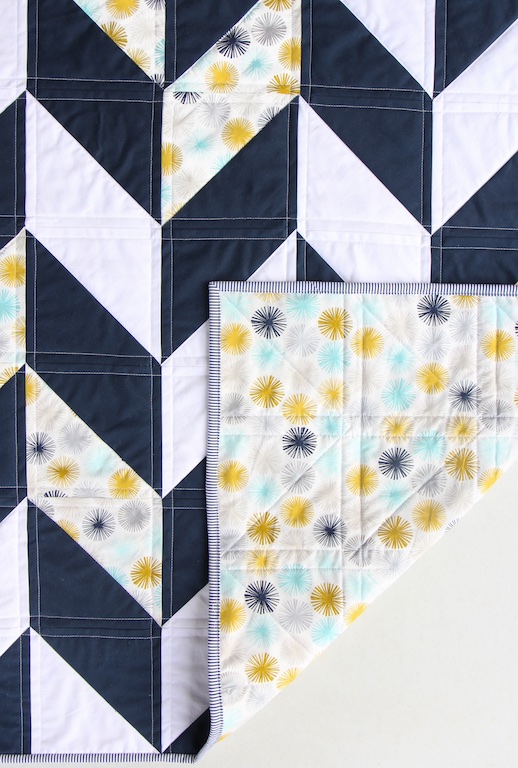
Isn’t this pretty fabric? I’ve had this Aubade fabric from Cloud 9 for a while and was dying to cut into it.  I knew I wanted to make an icy looking kind of quilt with it, but I wasn’t sure what block I wanted to use.  Shall I show you the embarrassing inspiration for the design?  Behold my ironing board:

ironing board

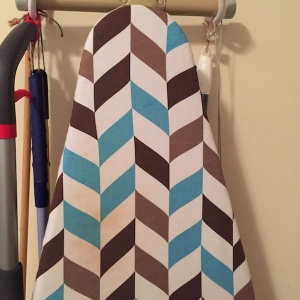
I took a look at it one day while getting it down and thought, gee – that herringbone would be a good choice for my icy quilt.  Sometimes that’s the way you decide things, right?

glacier front, back, binding

glacier stacked III

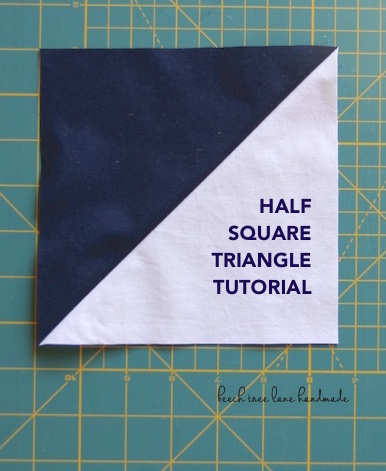
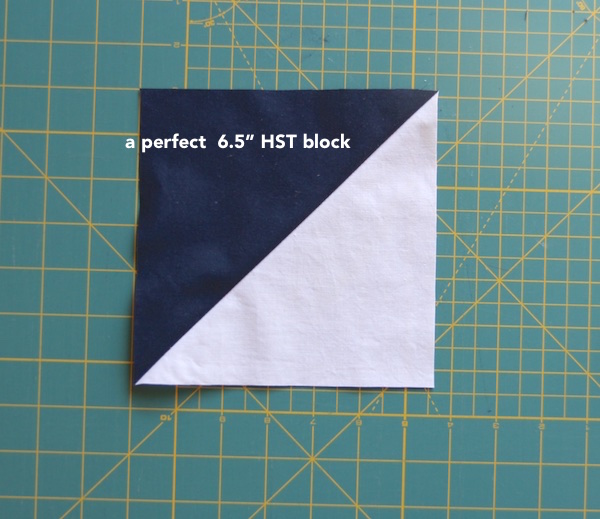
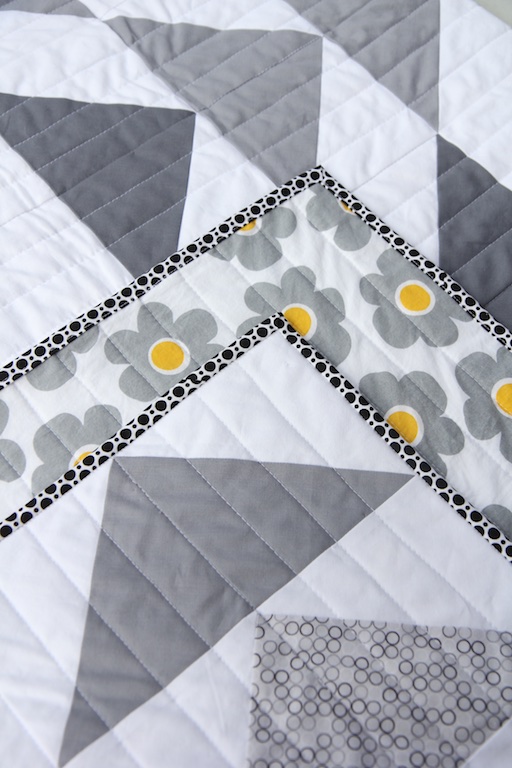
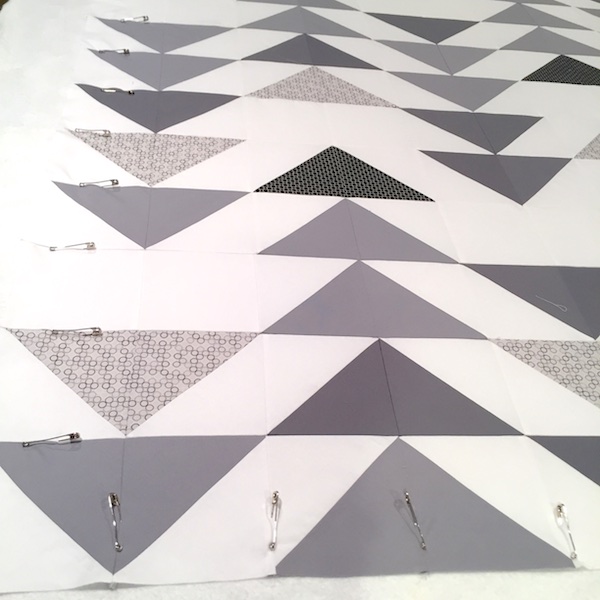
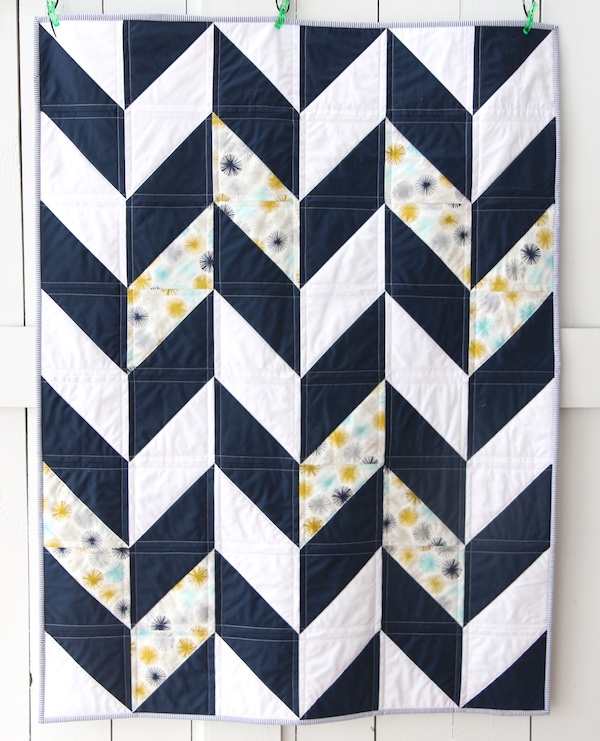
This quilt was made up entirely of 6.5″ Half Square Triangle blocks.

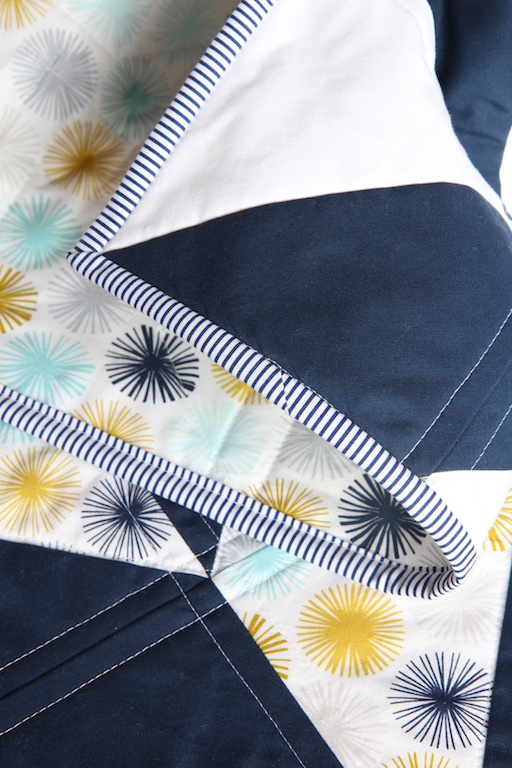
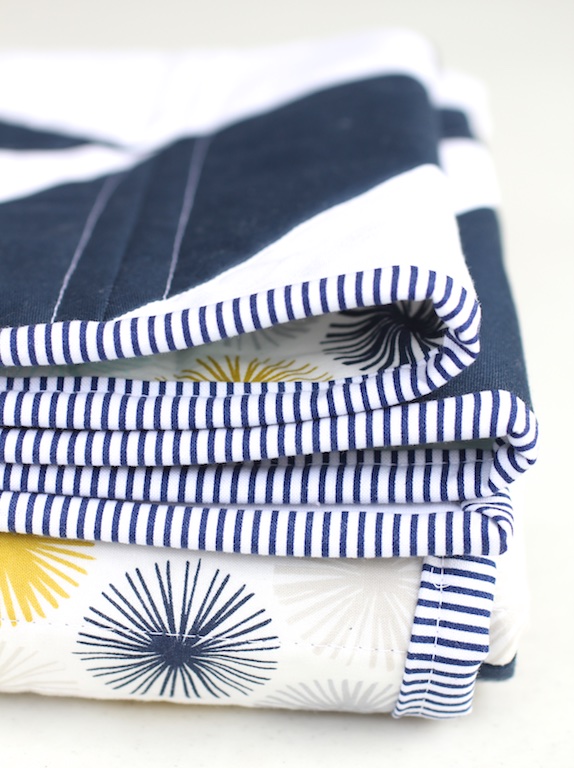
I paired the Cloud 9 fabric up with Robert Kaufman Kona Cotton Navy and White.  I thought it was a nice contrast.

glacier before quilting

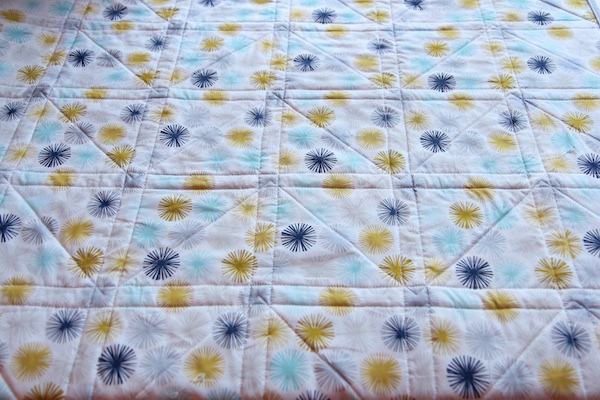
I used white Aurifil 50 wt thread to quilt it.  I kind of agonized over how to quilt this thing, but ended up just outlining the seams and then zigzagging across the blocks. My walking foot did a great job, with no skipped stitches and no puckering.

glacieri front and back

glacier back quilting

I used Warm and White cotton batting so the Kona white would stay as white as possible.

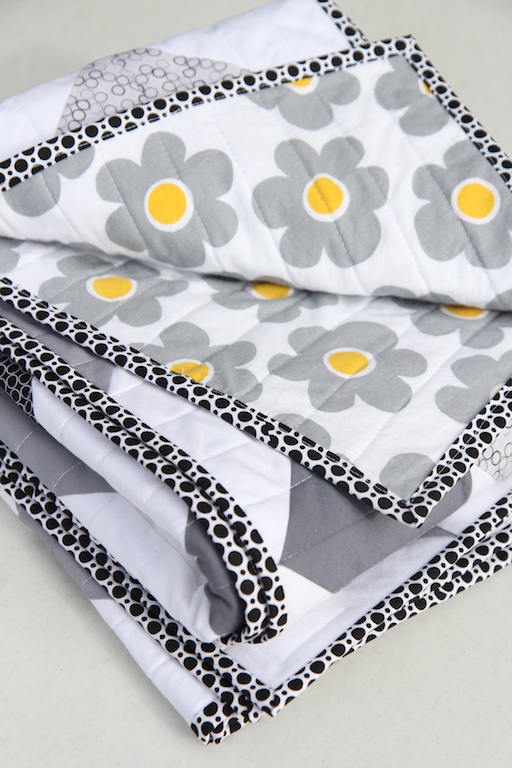
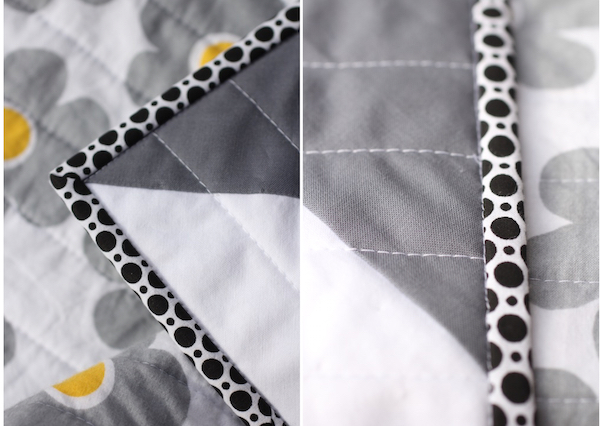
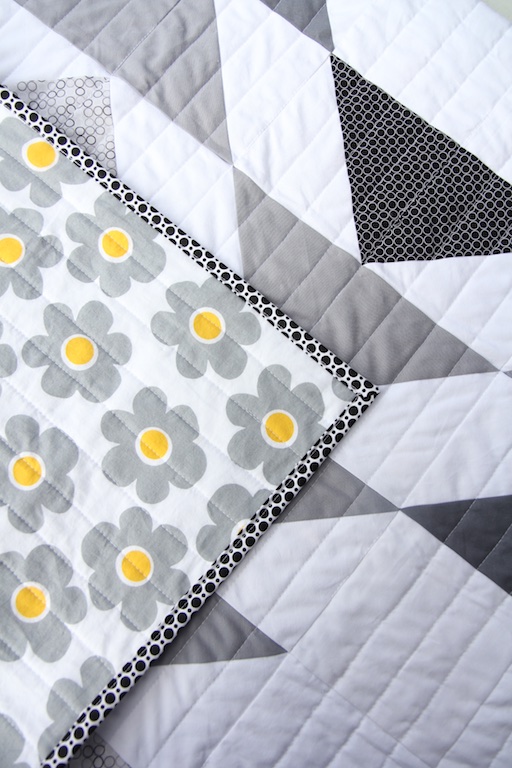
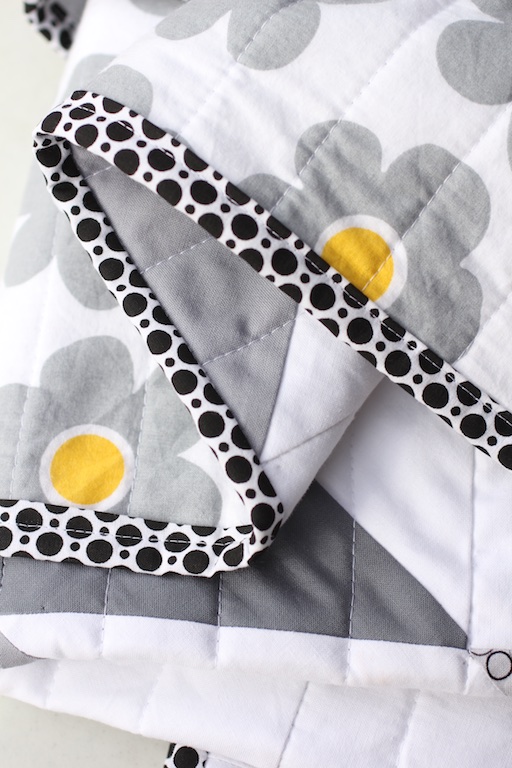
I tried a few different turquoise colored binding fabrics but ended up with the tiny dress stripe in navy from Dear Stella. I liked the tiny stripe so much I know I will be using bindings in the future from that line. The size of the bindings strips I cut were 2.5″.  This is the most fun for me – to sew on the binding and make nice mitered corners.

glacier stacked IV

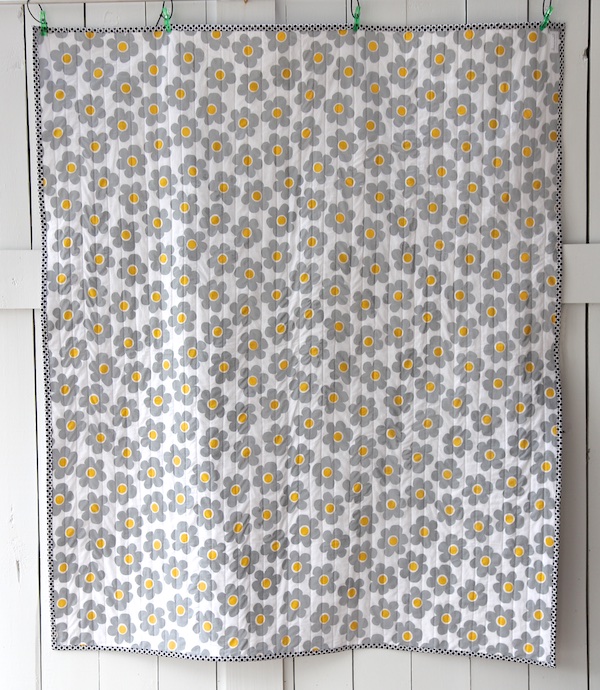
The finished size of this quilt was on the small size – 36″ x 47″ but big enough to be a crib quilt or a lap quilt.

This was such a fun quilt to make and I got to use my favorite Half Square Triangles for the quilt design.

Have a wonderful Thanksgiving!
Elaine

Head on over to Lorna’s to look at her “Let’s Bee Social” Linky!

glacier rolled

Half Square Triangle Tutorial – Method I (Traditional)

HST Tutorial

If there’s one block in all of quilting that you should know how to make, it’s the Half Square Triangle (HST).  To me, it’s the most versatile block in quilting and you can do endless things with it in design.  With this one block, I can make a wide variety of quilts. In this post, I’m going to show you the Traditional Method of making them, two at a time.  In my next post, I will show you a way of making them four at a time.

This technique is simple and easy to learn and is actually very quick after you get an “assembly line” system going.  Two squares of fabric are cut, placed right sides together (RST), sewn from corner to corner and cut apart.  You end up with two HST blocks.

hsts in progress

To figure out what size to cut your squares of fabric to sew these up with, you need to determine what size you want your working (finished) blocks to be (before sewing them into your quilt). When you determine what size you want your working blocks, just add one inch.   Lots of people recommend that you add 7/8″ to the desired size, but I like to add one whole inch. I want a little bit of extra fabric in the end so that I can square up my blocks nicely and it makes the calculations easier.  So if you want a finished working block size of 6.5″, you need to cut squares of fabric that are 7.5″.  (Remember that after you sew your 6.5″ finished blocks into your quilt, you will lose the half inch in the seams and they will be 6″ blocks in your finished quilt.)
With this method, you don’t need any chart to figure out how big to cut your squares.

Desired Finished Block Size + one inch = how big to cut your squares

This method makes two HSTs at a time.

HST I 1 HST I 2HST I 3 HST I 4 HST I 5 HST I 6HST I 7HST I 8HST I 9HST I 10HST I 11HST I 12HST I 13HST I 14HST I 15HST I 16HST I 17

Grey Goose Quilt

grey goose stacked III

What a fun quilt this one was to sew.  Before I knew it, I was doing the binding.  For this quilt, I wanted a modern, clean geometric kind of look.  So I made Half Square Triangles and did a Flying Geese kind of pattern on the front.  I skipped some triangles, to create some additional negative space.


Because the front was so modern and graphic, I wanted a bit of whimsy and a splash of color for the back.  I looked at several fun fabrics for the back and in the end I chose this fun fabric by Anne Kelle for Robert Kaufman.  It’s actually a 108″ wide which made the backing a snap.

grey goose full back

The front was made up of Robert Kaufman Kona Solids:  medium grey, steel, and white.  I added a couple of Robert Kaufman Spot On fabrics for a little variation.

grey goose stacked

grey goose rolled

The binding was such fun. I almost went with a traditional black and white stripe, but I pulled this black and white dot fabric from my stash and it just added so much zing, I had to go with it.  I can’t remember where I got this fabric and it had no useful identification on the selvage.  Maybe even Hobby Lobby?

grey goose binding front and back

binding, back and front

The binding went as smoothly as can be because I secured it with my Wonder Clips every few inches.  I sewed it on the front, wrapped it around the back and stitched in the ditch on the front.  If you want to learn how to do this kind of binding, I’ve done a machine binding tutorial here.  I believe that machine sewn bindings are more durable.

grey goose binding closeup

grey goose two binding

grey goose front, back, front

The front was stitched 1¼ inch apart, using my seam guide attachment.  I debated about adding horizontal stitching after all the vertical stitching was done, but decided in the end that less is more.

grey goose back and front

I used Warm and White cotton batting, because I wanted the white fabric to remain as white as can be.  Warm and Natural would be too dark, I felt, behind the white fabric.

Finished size on this quilt is 50″ x 59″.

I can’t wait to get this quilt to its new owners!

Go make something!
Elaine

Check out Lorna’s “Let’s Bee Social” link up over at Sew Fresh Quilts.

grey goose binding with back

Save

WIP Sneak Peak: Grey Goose Quilt

Grey Goose Quilt Panel

I was able to move from the laundry room this weekend, which is where I sew, out to the ping pong table in the basement to baste this new quilt. I sew in the laundry room, standing up at the counter.  Doesn’t that sound awful?  It’s not.  I take my iPad in there and put on a movie and watch it while I sew.  Then I move my machine out to the kitchen table just for the quilting part.

Grey Goose Quilt Block Trimming

I do four-at-a-time Half Square Triangles

This quilt is made up of Half Square Triangles – my favorite block.  I wanted a really modern, geometric kind of look to this quilt because it’s going to someone whose decor is contemporary. Their color palette is going to be greys and white.  So I did a mix of Kona Cotton Solids  – lots of Kona White – and Robert Kaufman Spot on Ring Spots.  I don’t like really busy quilts and wanted to keep this clean and fresh looking. All the triangles are solids, except just a spattering of a few with the Ring Spots.

Grey Goose Quilt Basting

When I baste, I tighten the top really well by pinning all four corners and then pin the outer perimeter of the quilt first (above), making sure the top stays taut.  Then I pin the inside.  It’s opposite of the way I used to do it and I like this method better.

Grey Goose Quilt Basted

I tried a few quilt backings for this but decided on this Robert Kaufman fabric.  I wanted something with a little bit of color on the back, since the front is just monochromatic.  The backing was simple to cut, since it’s one of those 108″ wide backings.  And as I’m writing this post, I’ve just realized that every single fabric I selected for this quilt is from Robert Kaufman!  That was not planned!

Grey Goose Quilt Backing

I’m going to quilt this with vertical straight lines, running right down the quilt, hoping to keep a modern look to it.  Time to get out the quilting gloves and walking foot!

Have a great day,
Elaine

Tessa Basket

Tessa Basket

I’ve been wanting to make this Tessa Basket for a while now and finally got the chance when I had to stop work on my current quilt because I ran out of a certain fabric.  Good excuse to whip this up!

tessa basket corners

It took my just a couple of evenings to make this. The most fun was the quilting of the panels.  My Janome makes such even, beautiful stitches – it’s so fun to machine quilt with it.

tessa quilting

I used several favorite fabrics, including Cloud 9 First Light Leaf in Pink, Leaves in Dark Taupe from the Magnolia line, and the ever awesome Make and Pin from the Maker collection.

tessa basket d-ring

I added a D-ring on the side so I can clip a key if I want to.  I used Pellon firm stabilizer, because I made the tote a little taller than the pattern called for and I needed some structure.

tessa interior pocket

I also added a handy interior pocket.

Here are the panels before assembly.  I just used Warm & Natural cotton batting to quilt them with.

tessa basket panels

I quilted the gray bottom fabric in a checkerboard, just for added texture on the bottom of the tote:

tessa bottom

It took a lot of Wonder Clips to assemble this thing!

tessa basket clippedtessa basket side

Grab the pattern here in Bonnie’s Etsy store.

Want to see more versions of this pattern?  Check out these Tessa Baskets:

Gemini Stitches
Wooden Spoon QuiltsThe Sewing Chick
s.o.t.a.k. handmade
mommy by day, crafter by night
nana company

Have a wonderful weekend!
Elaine

Fabric Trays to Sew

fabric trays

Sometimes  you just have to sew something cute and sweet.

I love linen and patterned fabric together.  So when I decided to make these little trays, I knew linen would have to be involved.

And since I’m a little bit obsessed with Alisse Courter’s Magnolia collection, I had to include a little bit of this sweet fabric:

Magnolia Fabric for Tray

Have you sewn with this fabric? It is so soft and luxurious.  That whole collection is definitely going to be showing up in a  quilt one day that I’m going to make. And it may have to involve a bit of linen, also.

fabric tray before corners

These little trays are a snap to make.  I used A Spoonful of Sugar’s great little tutorial for making these.  You can whip one up in about 15 minutes.  She uses charm fabrics, which are 5″ square.  I did one in that size and did the next one at 6″ square.

fabric tray aubade

aubade cloud 9 fabric

I couldn’t resist cutting into this Cloud 9 Aubade fabric for one of the trays.  The linen I used was Robert Kaufman Essex Wide in Flax, a great linen blend that’s easy to cut and sew.  You can use any fabric for the outer lining, though.  The corners are just sewn up with embroidery floss or pearl cotton (which I used).

I’m using one to hold my beloved Wonder Clips.  They would obviously be great for jewelry, too.  What great little gifts they would make.

fabric tray wonder clipsFabric Trays two