I promised you way back when that I would post about how to make Half Square Triangles using a different method, making four at a time. The HST continues to be the most fun block to design with, because of the endless combinations you can make with it. In my first tutorial, I showed you how to make one at a time. This second method, making four at a time, is super easy and very fast. The only drawback to this method is that you will end up with edges that are bias edges – which just means they can stretch a little bit. So, when pressing these blocks, be extra careful not to iron them and stretch them out – just press them.
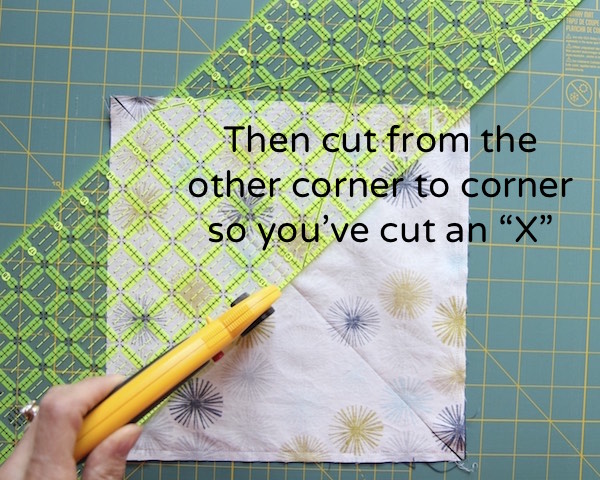
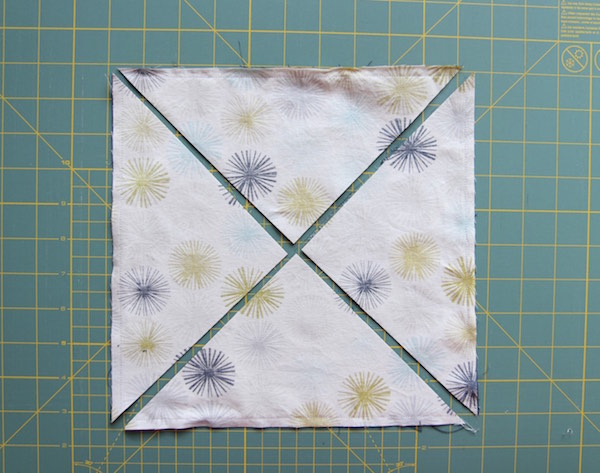
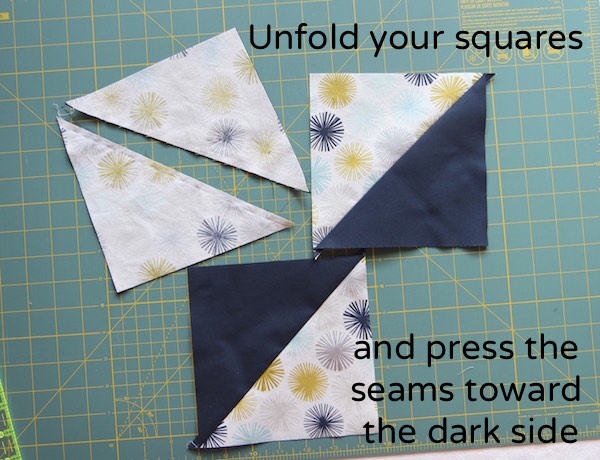
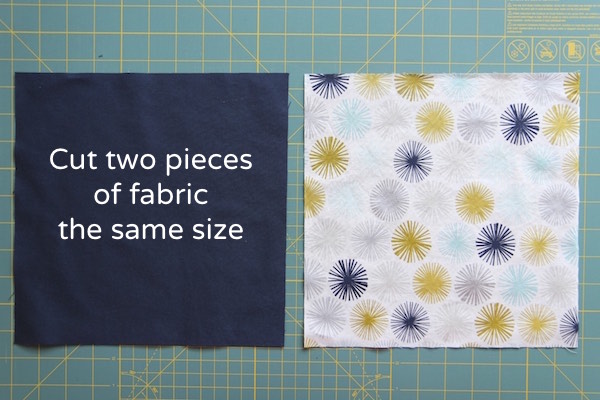
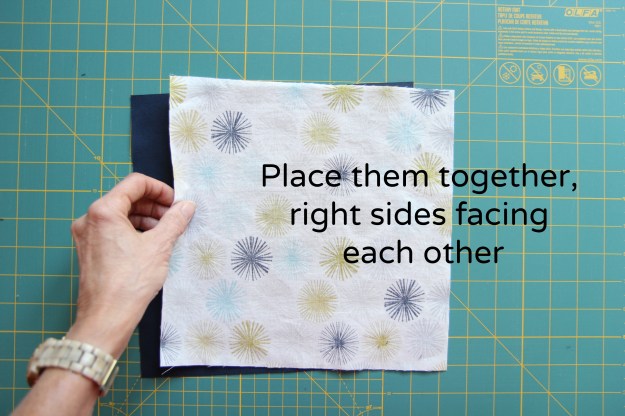
The advantage to this method is that it is super fast – you just place two squares of fabric, right sides together, sew a quarter inch seam around the entire outside edge, cut an “X” corner to corner and you have four HSTs. All you need to do is press them open and trim off the little dog ear corners. You don’t even need to draw any lines with a pencil on your fabric with this method.
In order to figure out how big to cut the two squares of fabric, the calculation is very easy. Do not be scared of the following math! Figure out how big you want your HSTs – and that means the size of your “unfinished” HSTs, before you sew them together into your quilt – and divide by .64, which is easy to do on your calculator. For instance, if I wanted finished 3″ blocks in my quilt, I would need 3.5″ unfinished HSTs. So I just take 3.5 and divide by .64 and I get 5.468, which I will then round up to 5.5″ squares of fabric.
3.5 ÷ .64 = 5.46875 so I will round this up to 5.5
I will cut 5.5″ squares of fabric to make 3.5″ “unfinished” HSTs,
which will end up being 3″ finished HSTs in my quilt
When using this calculation, keep in mind that this is not an oversized HST that you will trim. If you like to make your HSTs oversized and then trim them, down, just calculate a little bigger and then you can do that. To trim them down to a perfect HST, this technique is my favorite for trimming.
In my next tutorial on the HST, I will show you Method III – how to make eight at a time!
I hope this tutorial is helpful!
Elaine

(Above: I flipped the square over to the dark side so you can see the stitching)

tip: the cutting is easier to do on a small little cutting mat, if you have one, because you can make the first cut, spin the whole mat around and make the second cut.