Monthly Archives: March 2017

Pinwheel Child’s Quilt

Pinwheel Quilt Front

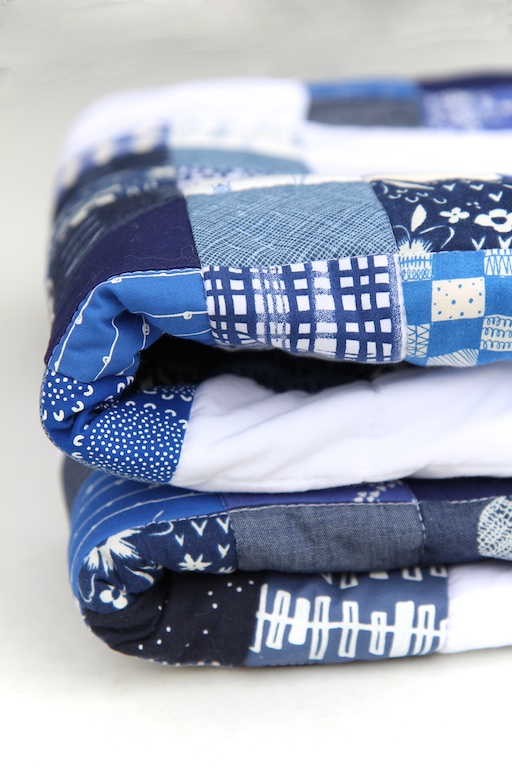
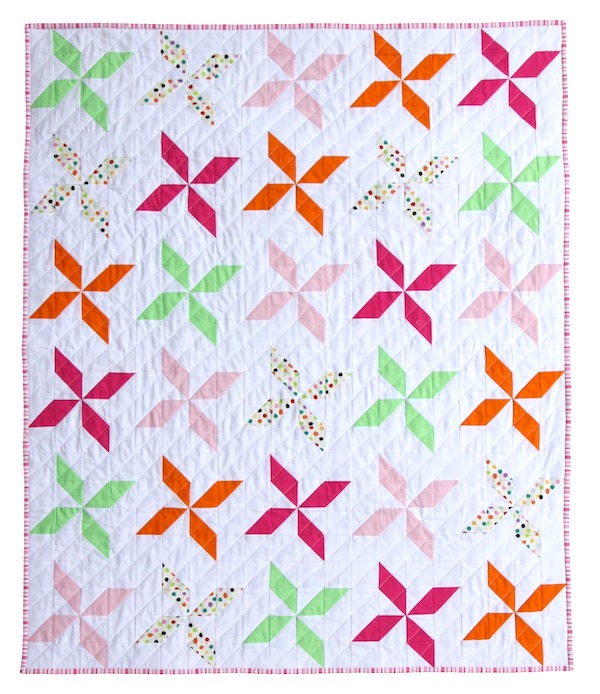
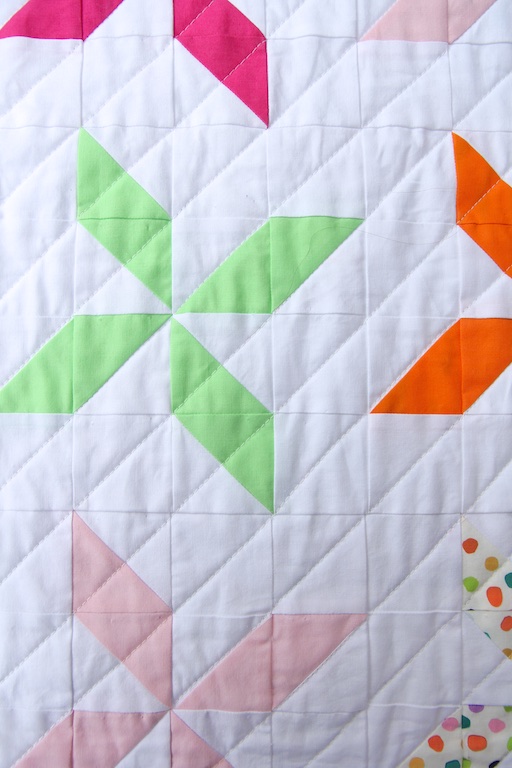
I’ve been getting in as much sewing possible before good weather hits here in Michigan, so I’ve really been putting in the hours on my machine.  Soon there will be lots of yard work and other outdoor activities.  I have so many quilt designs drawn out in my notebook that I want to make – there’s just not enough hours in a day.   I’ve wanted to do this pinwheel quilt for a while and knew I was going to make pinwheels popping out on a white background.  I wasn’t sure about the color scheme at first, but it evolved to become a very colorful quilt!  Stay tuned because I am writing a full pattern for this quilt and hope to have it ready soon.   There’s so many color possibilities for this quilt – I would love to make a navy and white one, too.

Pinwheel Quilt folded

Pinwheel Quilt in Basket

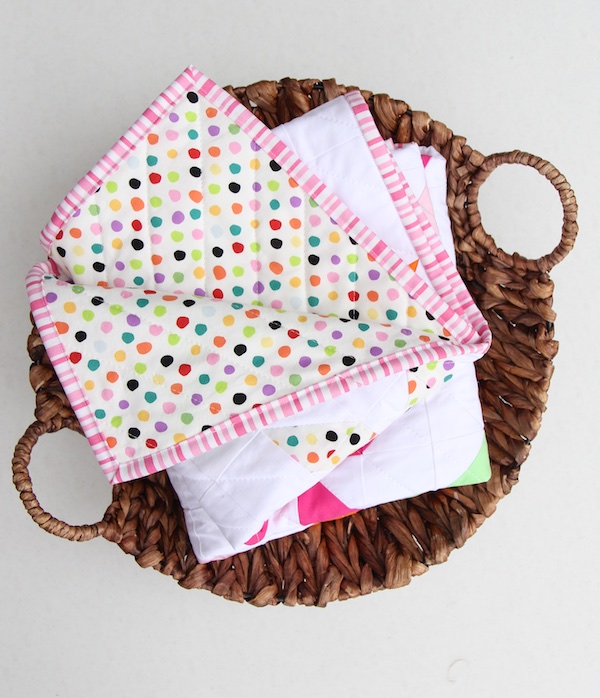
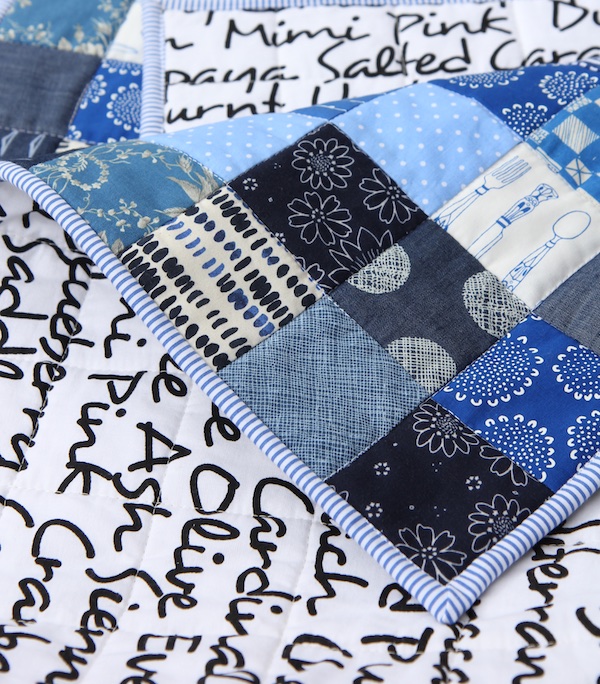
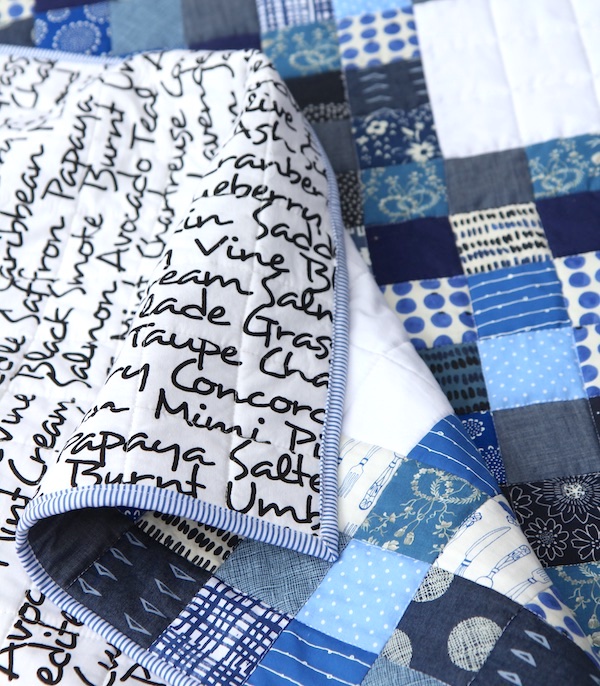
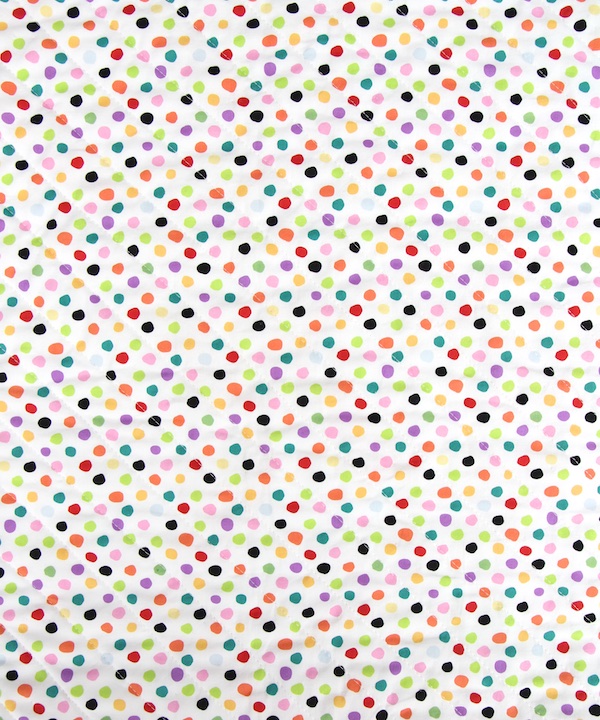
This quilt was made of mostly of Kona solids – White, Orange, Pear, Baby Pink and Bright Pink.  The dotted pinwheels on the front is a fabric I really love – it’s called “Sunkissed” by Michele D’Amore for Benartex Fabrics.  So fun!  I used it as the backing fabric, also. Unfortunately, this is a hard to find fabric now.  I’ve been hoarding it for a while.

Pinwheel Quilt binding copy

Pinwheel quilt backing

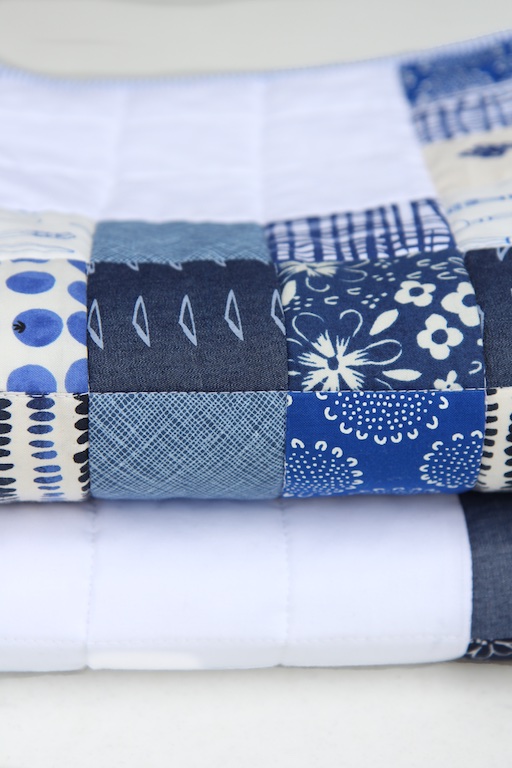
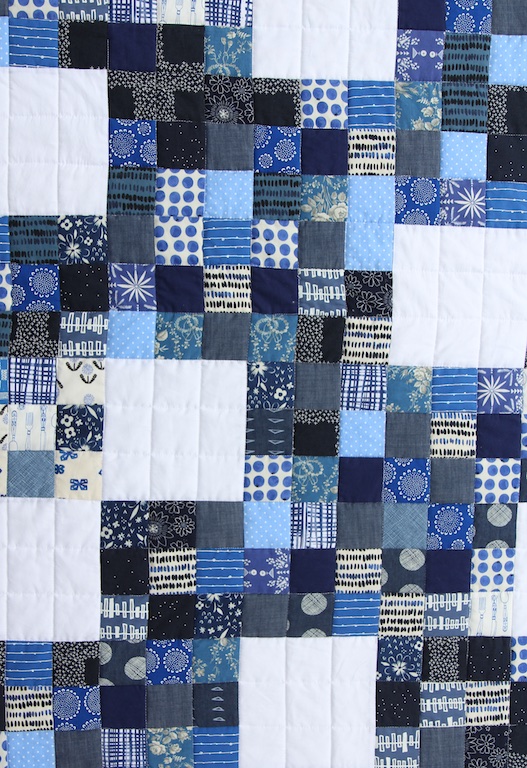
I pondered how to quilt this and in the end I ended up doing modern diagonal lines, going in just one direction.  It was tempting to quilt it both ways, but I restrained myself!  Because I followed the pinwheels and went right down the diagonal corner of the squares,  I did not need to mark my quilting lines in any way.   I used a 4.0 inch stitch length on my machine.   The batting was Warm & White from the Warm Company.

Pinwheel Quilt stitching

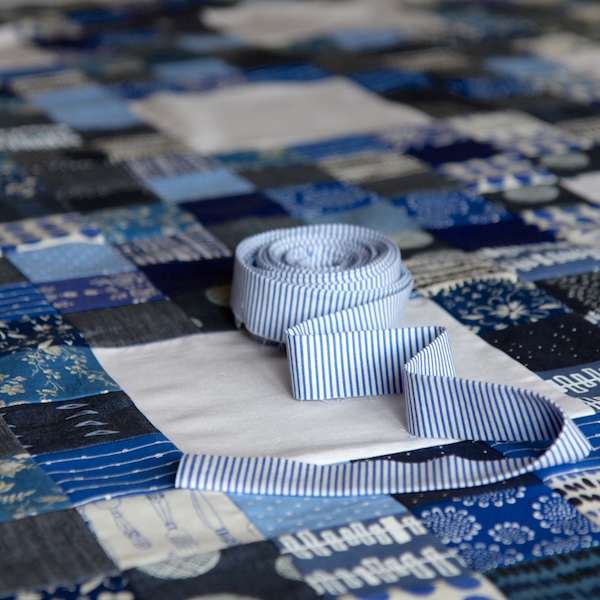
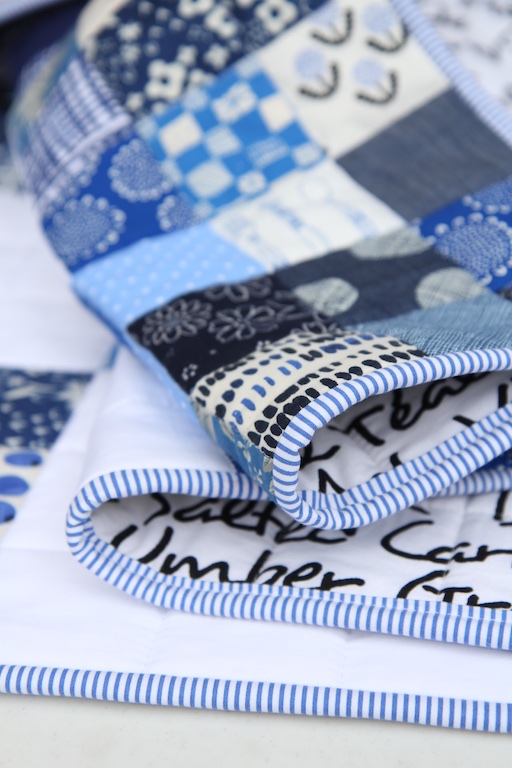
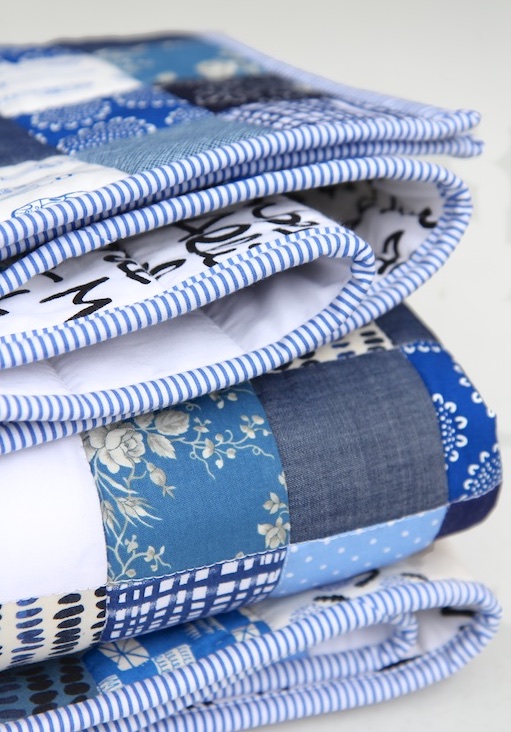
The binding is a fabric I’ve had in my stash for a while, just waiting for the perfect quilt and this was it!  It’s a pink stripe from the Hi De Ho Collection from Moda.  I made 2.5″ binding and did my usual machine binding method.

Pinwheel Quilt front & back\Pinwheel Quilt Stack

This quilt finished at 40″ x 47″.  It’s a great size for a child to snuggle with or as a great design accent for a room.

I’m listing this quilt in the shop.

Thanks for dropping in – I hope you’re making something!

Elaine

Save

How to Make a Super Easy Quilt Back

The only part of making a quilt that I do not enjoy is sewing the quilt back.  I just hate calculating the dimensions, cutting the pieces and then sewing them together.  There are many, many ways to make a quilt back.  You can even use 108″ wideback fabric, and not have to cut anything – but the fabric choices for those are limited. So, unless it’s a baby quilt, you almost always have to piece a quilt back. I can give you a method to make it a little easier. Instead of cutting two separate pieces of fabric and sewing them together, you cut one long piece, fold it together and then sew right down one side.  You then cut off the little fold line and open the fabric up and you’ve got a quilt back.  It’s very easy.

I get a lot of quilting questions from beginner quilters, so I am going to diagram this method out in a really basic way (I hope).  If you’re more of an advanced quilter, you won’t need such detailed instructions.

Keep in mind when you calculate dimensions for your quilt back, you have to take into account that although fabric width (WOF) is about 42 – 43″, you have to subtract the selvedges and you need to figure in ½” seams in your allowances.  Also, if you want an overage on your quilt back, making it a bit larger than your quilt top, adjust accordingly – I always allow a couple inches all the way around the quilt for an overage. So remember to allow for those in your calculations.  The example below doesn’t include overages – it’s just a example.

Also, I’ve recommended this phone app before and I use it all the time – it calculates how much yardage you will need for your backing.  It’s QuiltingCalc by Robert Kaufman.  Very handy.

This method actually works well for certain directional fabrics, because folding the fabric over on itself lines up the pattern in the same direction.  Also, this method only works on quilt tops which are under 80″ in length.

quilt-back-1quilt-back-2quilt-back-3quilt-back-4quilt-back-5quilt-back-6quilt-back-7quilt-back-8


quilt-back-9

Now just trim the length to the size you want.

Tips:

● Cut the selvedges off before you press the seam open – they are tighter and have less give than the fabric itself and can cause a pucker sometimes.  Make a big enough seam so that you can do this.  So make your sewing line ½” away from the selvedge.  Press the seam open so it lays flat.

● Use a walking foot if you can to sew the seam – it will move the fabric along better, so that it is even.

I hope these instructions make sense and that they are helpful.  Do you have a favorite method of piecing a quilt back?

Elaine

Save

Save

Save

Save

Save

Save

Save

Save

Nine Patch Blues Quilt

Nine Patch Blues back and front

I love this quilt.  I so enjoyed making this quilt and watching it come together.  I love high contrast fabrics so much and putting them together with white solid fabric is so eye catching.  After I finished the Zuzu quilt, I really wanted to do something similar, only with squares.  I knew I wanted patchwork, but I didn’t want the whole quilt to be patterned fabrics, so I broke it up with blocks of white and I think the design is bold because of it.

Nine Patch Blues Quilt Front

I have lots of gorgeous blue fabrics from a block of the month club I joined and decided I did not like.  I didn’t like the blocks, but I loved the fabrics – gorgeous Cotton & Steel, Robert Kaufman, Art Gallery, Carolyn Friedlander, etc.  These were so fun to sort through and select for the quilt.

Nine Patch Blues folded


Nine Patch Blues layers

For the construction of this quilt, I made nine-patch blocks by cutting 3″ strips of fabrics from the width of fabric and then cutting those down to 3″ x 10″ strips.  I sewed three strips together, randomly, and then subcut these into 3 strip sets.  Then after I had sewed multiple strip sets, I sewed these randomly together to get nine-patch blocks.  I pressed all the seams one way on all my strip sets, so I could nest the seams together when I did the nine-patch blocks.  Make sure all the seams are pressed the same way on your finished blocks so that you can alternate seams on your rows and nest them together.


After your blocks are sewn, trim them to 8″ square.


After I had all my nine-patch blocks finished, I cut  8″ squares of solid white.  Then I laid out the quilt randomly, alternating nine-patch blocks and white blocks.  I made 46 nine-patch blocks and cut 17 squares of solid white.

Nine Patch Blues Quilt Rolled

I was going to do a scrappy binding, but then decided to use a tiny navy blue and white dress stripe from Dear Stella that I thought went nicely with the quilt.  I did my usual machine binding for extra durability.

I stitched in the ditch for the quilting, because I felt I didn’t want the quilting to interfere with the beautiful patterns in all the fabrics.

Nine Patch Blues Binding

Nine Patch Blues binding detail

Nine Patch Blues stacked

I also used TWO layers of Warm and Natural Warm and White cotton batting again. This makes the quilt extra heavy and extra warm and it has become my favorite way to make a quilt now.  I just love the extra heft and weight that it gives a quilt.  I actually gently prewash my batting because I don’t want it to shrink much when it’s in the quilt and laundered in the future.  Warm and Natural batting actually holds up well in a gently prewash, but other battings I’ve used do not.  I think that shows how well the batting will hold up once it’s in the quilt and going to be washed for years to come.

Nine Patch Blues detail

Nine Patch Blues folds

The backing fabric is an absolute favorite of mine – 108″ wide quiltback “Language of Colors” by Windham Fabrics.  I  just love this fabric and the punch it adds to a quilt, without competing with the front of the quilt.

Nine Patch Blues backing

The finished quilt is 52″ x 67″, a great size to snuggle up with.

This quilt is for sale and I’m listing this in the Shop.

Have a wonderful week!
Elaine


Save

This and That

The one great thing about winter for me is that if I’m going to be stuck indoors, I get a lot of sewing done.  And knitting.  I just finished a custom order of the Peachy Keen Quilt and it was so fun to work with these fabrics again:

peachy-keen-quilt-ii


And I’ve just finished this cute little baby girl sweater  (during many episodes of This is Us).  It was a fun little pattern and I loved the way it turned out.

I’m currently working on a new quilt, inspired by my Zuzu Quilt.  I love high contrast fabrics with white and this is another design, only using nine-patch blocks.  I’m using fabrics that were from a Block of the Month club that I joined last year and decided I did not like.  Oh well. I ended up with  a lot of gorgeous blue and white fabrics from it.

blue-white-fabrics

nine-patch-blues-quilt


Sometimes when I need to buy fabric, I like to search for it by color and it can be tedious to do when using online shops.  Did you know that Hawthorne Threads has a nifty Color Grid tool that makes it easy to search for fabrics of a certain color in all their collections?  I love using it.  Try it sometime!

In all my years of sewing, I have never cut myself with a rotary cutter, but I recently did just that.  I wasn’t necessarily being careless, though – I had been cutting lots of fabric on my regular ruler and then wanted to do a couple of strips using a different specialty ruler.  I was used to the thickness of my regular ruler and the specialty ruler was much thinner.  Well, the rotary cutter went right off the thinner ruler and sliced my left index finger pretty badly.   So it inspired a search for a finger guard and I found this nifty item, which I’m now wearing when I cut fabric – a Cosmo Finger Guard.  It’s actually made for the hair styling industry, to prevent stylists from snipping their fingers but I think it’s terrific for people who sew!  It’s cut resistant and just might be enough protection to prevent a bad mishap.

In my next post, I’m going to talk about a method of sewing a quilt back but I wanted to share with you a phone app that I use all the time to figure out yardages for backing, batting and binding – it’s the Robert Kaufman “Quilter’s Little Helper”.  Have you seen it?  I love it.  (I believe it’s available for Android users, too.)  I simply plug in the width and length of my quilt and the binding width I like to use and it will calculate how many strips of fabric I need to cut for my binding.  Or how many yards I need for my backing.  It calculates borders, too.  Check it out sometime!

rk-app

I can’t believe it’s already March!

Hope you’re making something! 
Elaine