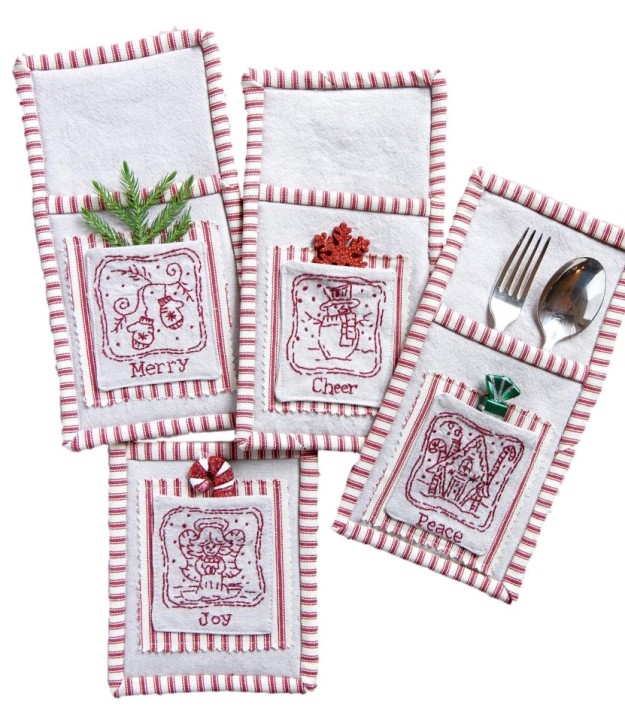
I started making these flatware holders to use outside on the patio table, where I didn’t want the silverware to be lying right on the table. I just made a version to use during the holidays and I thought they were so cute that I’ve written up a pattern. It took quite a long time to write because I’ve drawn lots of diagrams and also included an extensive step by step photo tutorial of how to do the machine binding with mitered corners. I’m hoping it makes it very easy to follow and you’ll have fun making these.

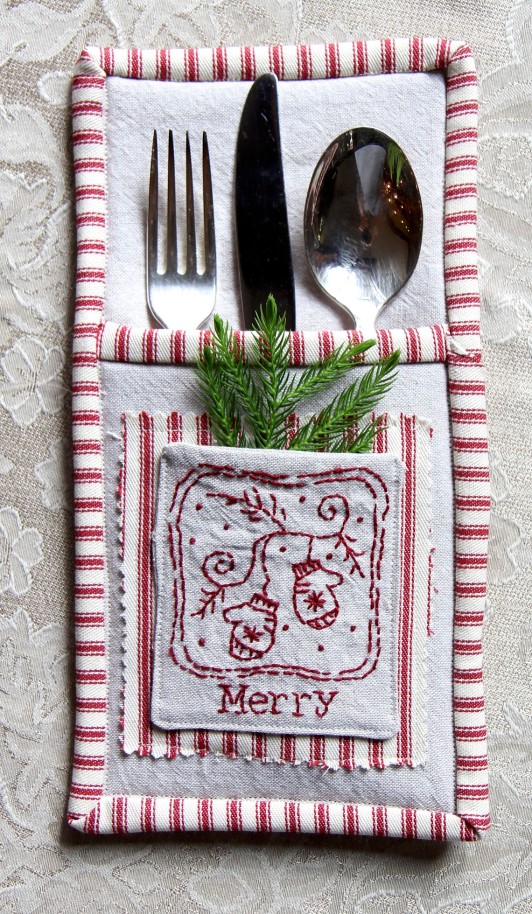
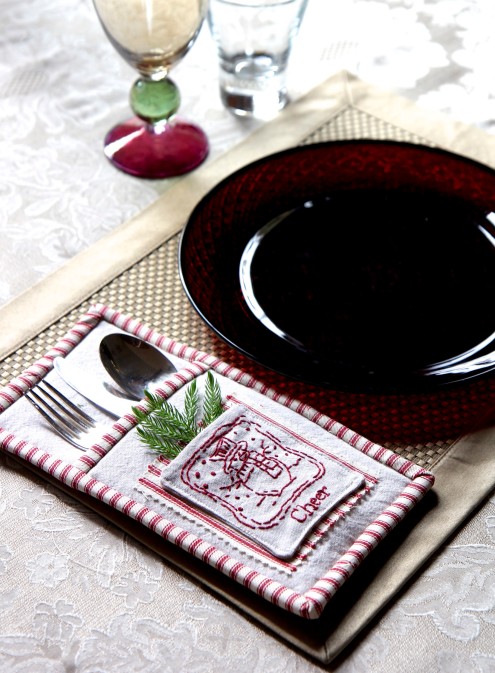
I’ve designed four winter embroidery motifs and these are included in the pattern. The embroidery is very fun to do and I enjoy that kind of thing while I’m watching TV. The motifs I designed take about an hour and a half each to stitch, depending on your embroidery skills. If you don’t want to do the embroidery, you can also just fussy cut a motif out of some fun fabric and use that on the front.


There are so many possibilities for creativity here – you can make all kinds of themes like Easter, Thanksgiving or Fourth of July. You can also just make plain ones and embroider your family’s names on them.
The holiday ones I made use Robert Kaufman Essex Linen in Flax and a 100% cotton mattress ticking fabric that I love from JoAnn’s. The combination of these two fabrics together make me very happy – I think it gives projects an old fashioned sort of look.


These flatware holders have a little pocket on the front where you can stick a little treat or some kind of table accent, like a sprig of rosemary. Or you can not put anything in them and let them just lie flat.
Sewing up the flatware holders is very fast, so this is a pretty quick project, after the embroidery is finished. I give you lots of tips in the pattern that I find helpful.
I hope you all have fun with it and share your versions on Instagram using the hashtag #BTLflatwareholders.
The pattern can be found HERE in my shop. Happy sewing!
Elaine
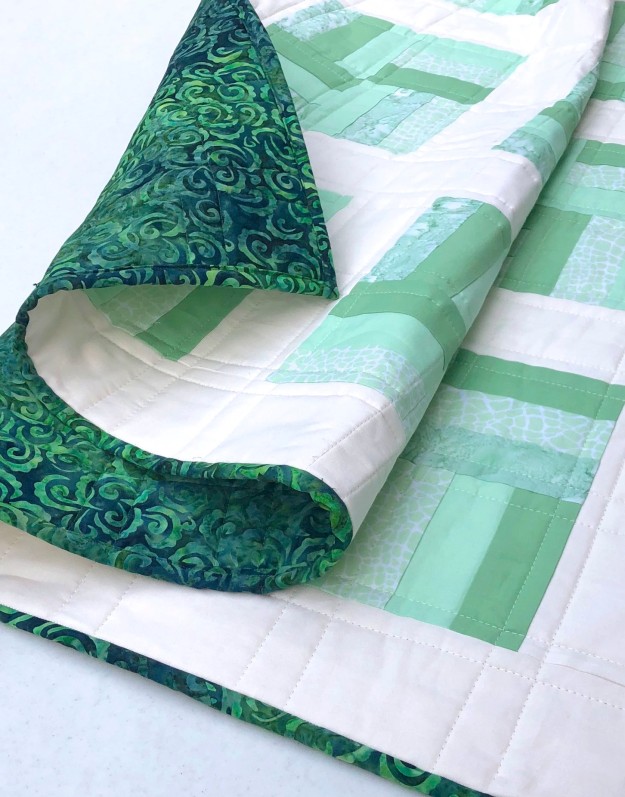

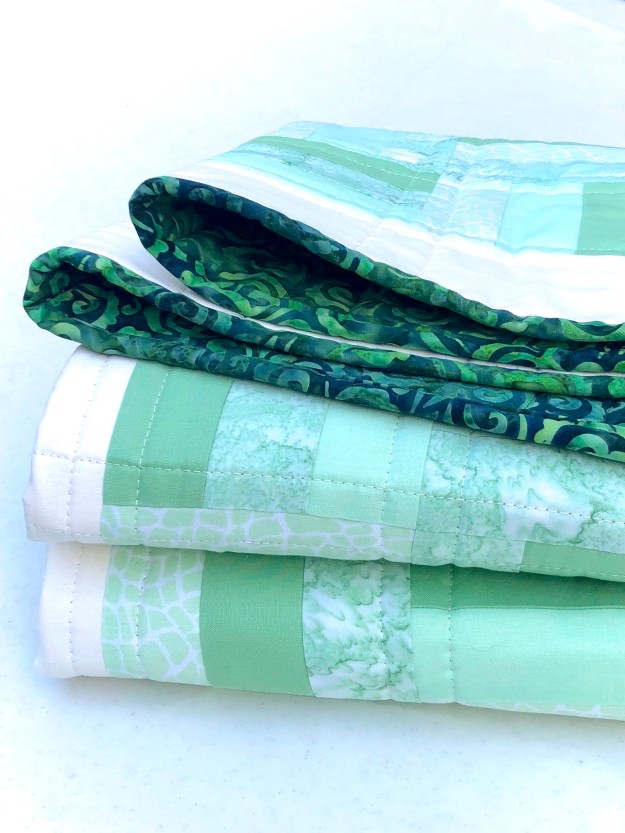
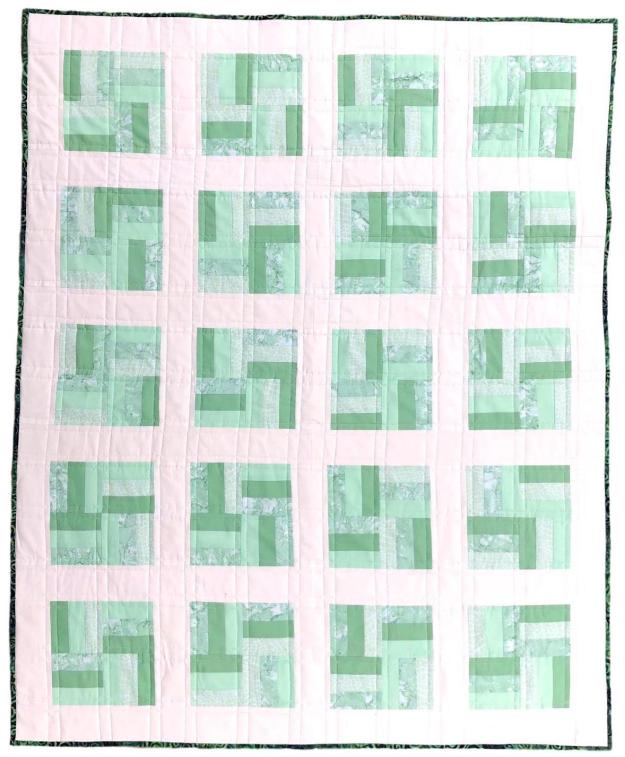
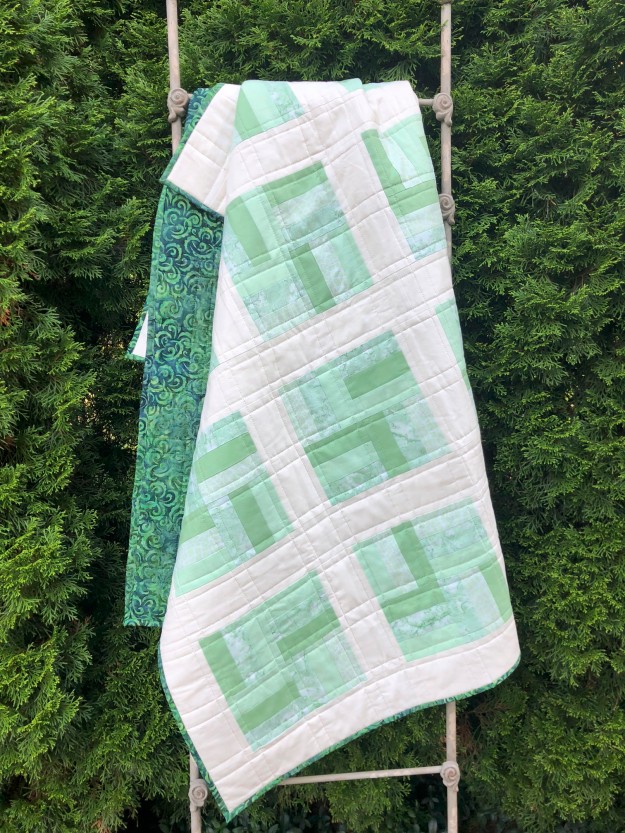
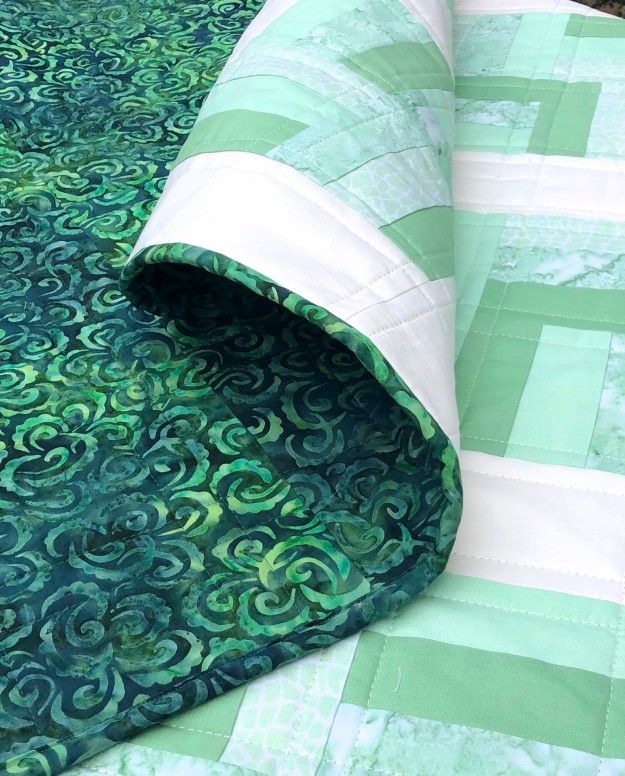 This is a throw size quilt and I used my much favored batting for this –