


Here’s what I’m working on this week – stay tuned!
And thanks for dropping in – have a great weekend!
Elaine

Here’s what I’m working on this week – stay tuned!
And thanks for dropping in – have a great weekend!
Elaine
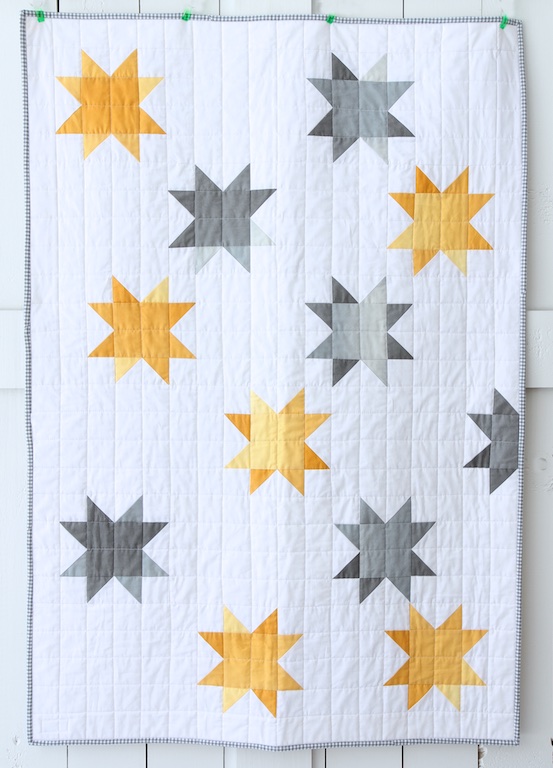
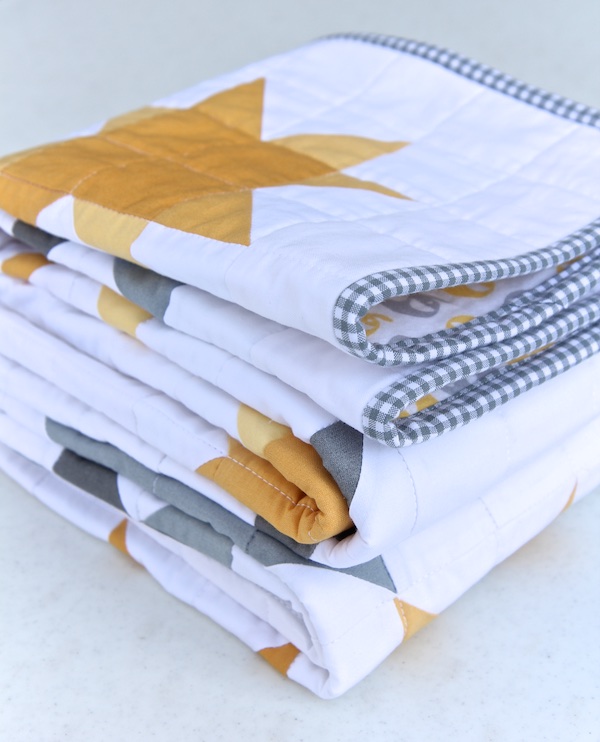
Lately I’ve been writing about how much I love Moda’s new fabric line called “Ombre”, designed by V and Co. These fabrics are gradient solids which, when cut up, look like you’ve used multiple solids. I really like using these fabrics and designed this quilt around two colors from this line – Honey and Graphite Grey – and I’m so pleased with the results.
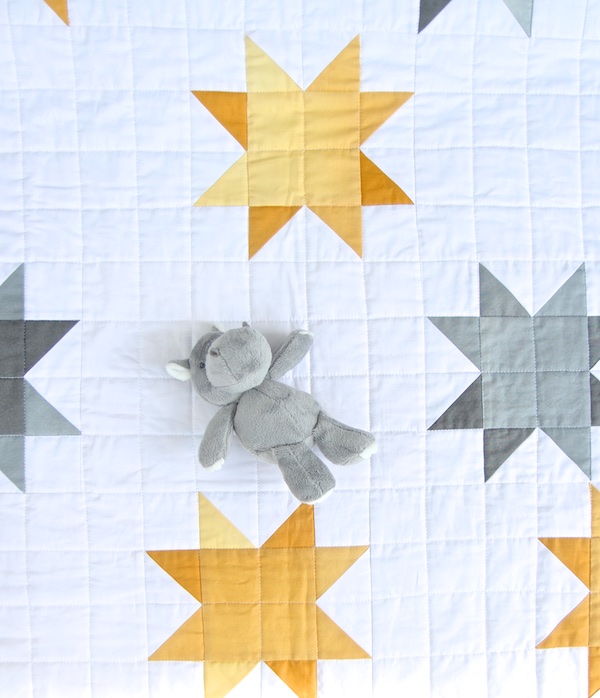
I had this design in mind for a while – to do staggered Missouri star blocks. I worked the design all out on graph paper and, because of all the varying negative space on this quilt, had to really do a lot of figuring and calculating – something I really like. No two rows were alike. There were some miscuts and ripping out, though. But that happens when you are not using a pattern!


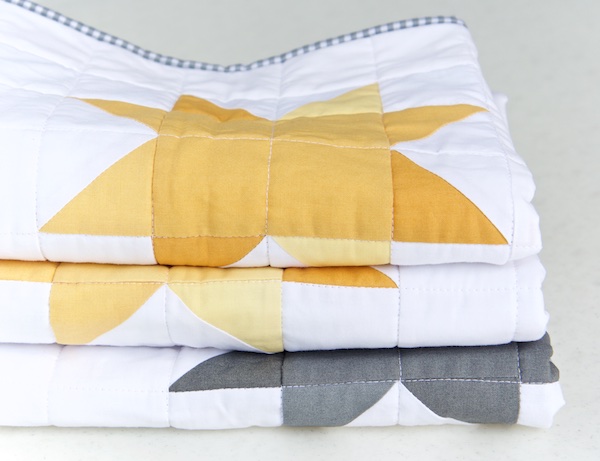
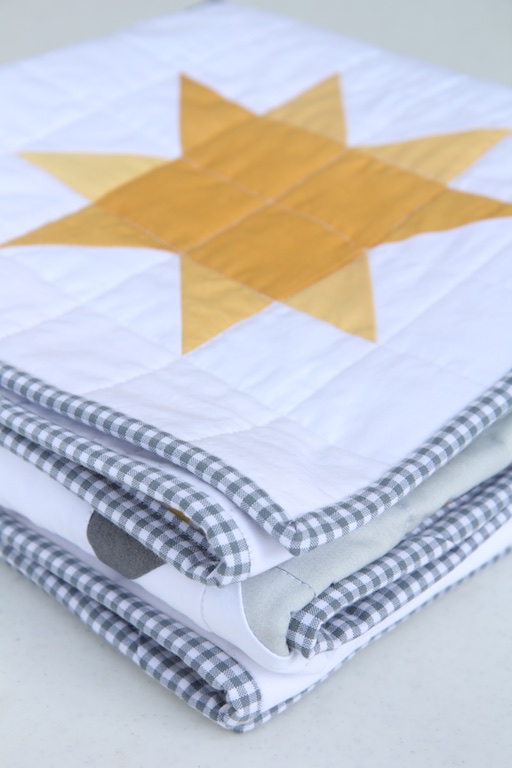
One of the things I love best about this quilt is the grey gingham binding. I have a nice stash of small size ginghams and I think they make the sweetest bindings.
The background fabric is Robert Kaufman Kona Cotton Solid in White. Because of all the white in the background, I used Warm and White batting, a pure white batting from the Warm and Natural company which doesn’t create a dull background behind bright white fabrics. And it has the same feeling and low loft of regular Warm and Natural batting.
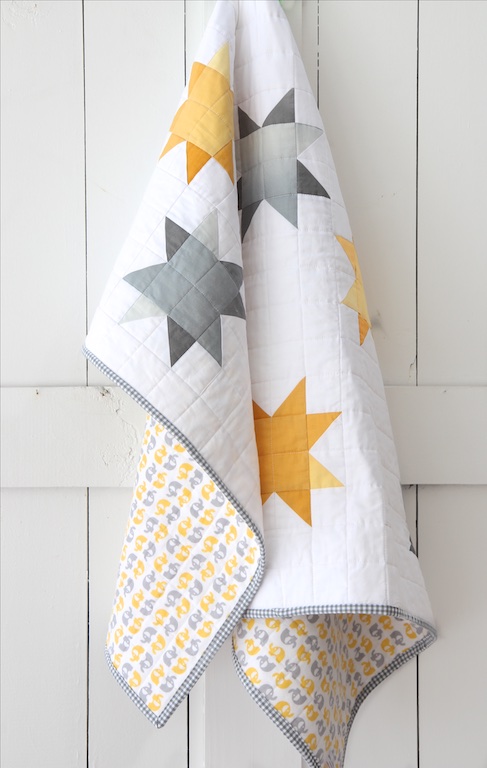
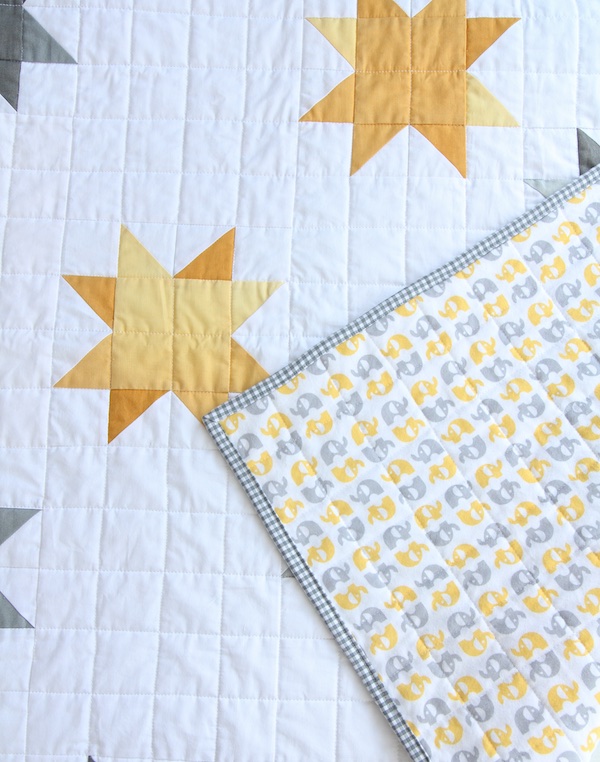
For the background fabric, I used this adorable flannel backing in Organic Cotton from Cloud 9 fabrics. The yellow and grey elephants were so cute and just matched the Ombre colors so well. The flannel is soft and makes such a nice backing for a child’s quilt.
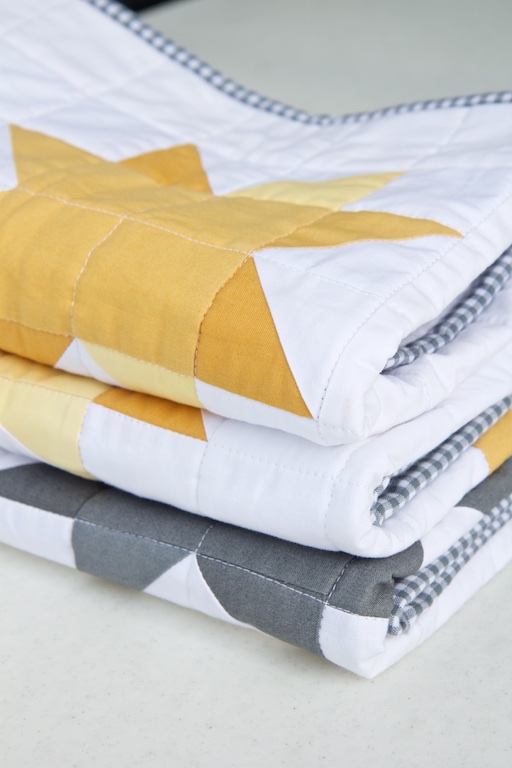
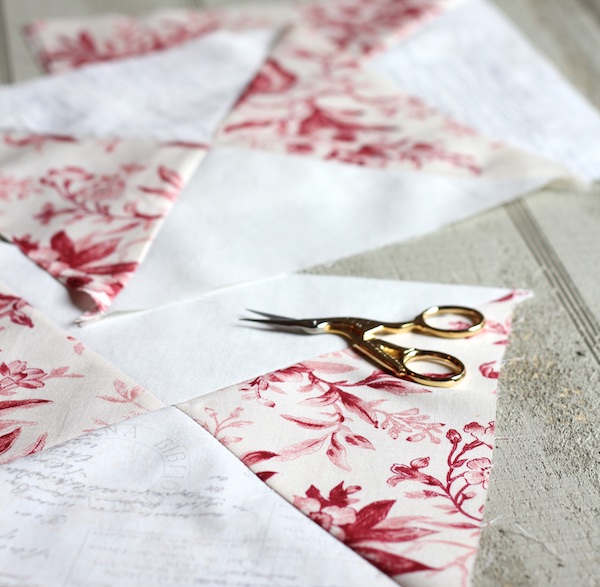
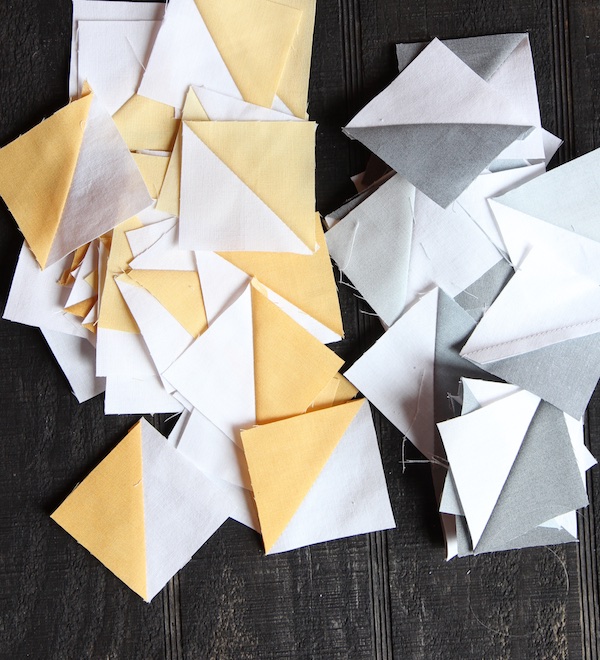
The stars were made up entirely of Half Square Triangles, which finished at 2″ after being sewn in. This is what I used as my quilting guide, so the overall quilting grid is 2″. I used 50 wt. White Aurifil thread and quilted at a stitch length of 3.5. The quilting makes such a nice texture and drape.
The finished size of this quilt is 36″ x 52″ . I love how it turned out and have listed it in the shop.
Thanks for popping in!
Elaine
linking up to Crazy Mom Quilts, Sew Fresh Quilts, Free Motion by the River, Sew Cute Tuesday


Designing something fun/complicated/exasperating and having a blast doing it. Involves Ombre, which I’m on a kick with right now. Stay tuned!
Are you making something?
Elaine
I have received many requests for a pattern for this quilt. You can make this quilt by using this patchwork quilt pattern found here.
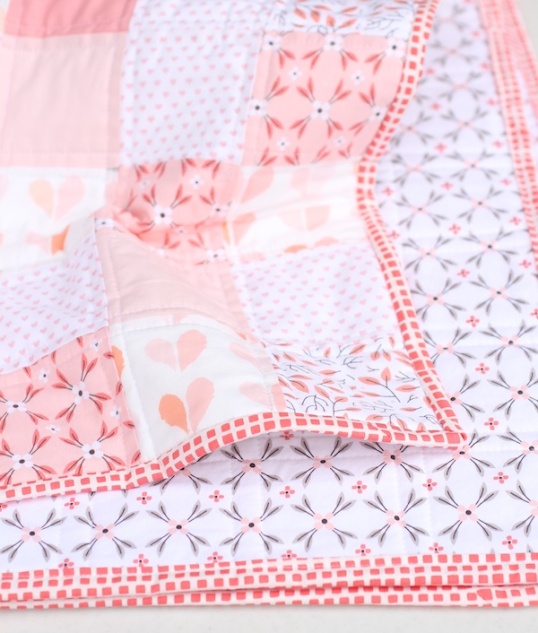
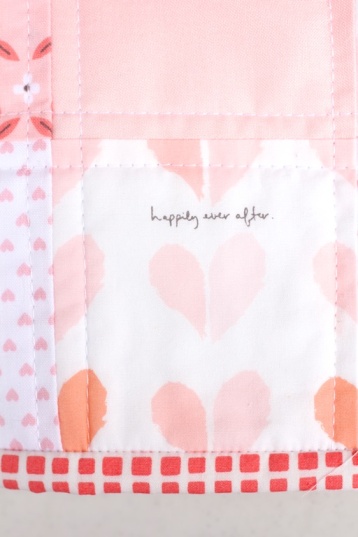
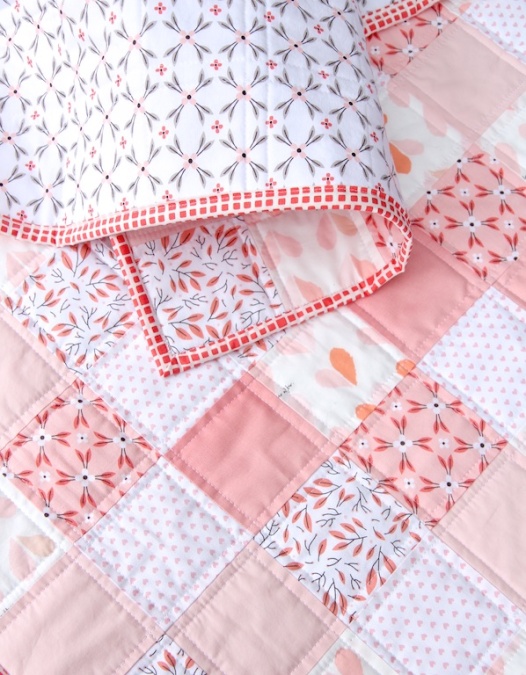
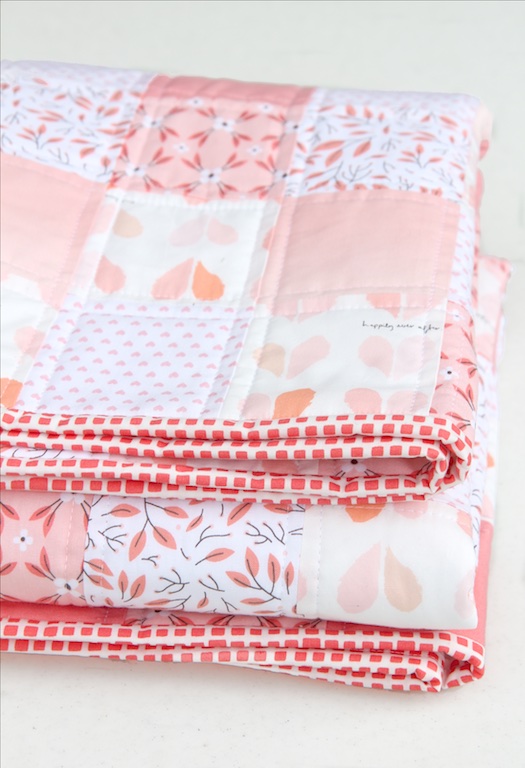
Between Amy Sinbaldi and Alisse Courter, I was in some kind of incredible Fabric Heaven in the making of this quilt. I had fallen in love a while ago with Alisse Courter’s Magnolia line of fabrics for Camelot Fabrics and couldn’t wait to make a cute little girl’s quilt with the peachy pink fabrics from that line. Then Amy Sinbaldi came out with her Paperie collection for Art Gallery Fabrics and when I saw her “Happily Ever After” fabric I knew it would go beautifully with those peachy pink fabrics.
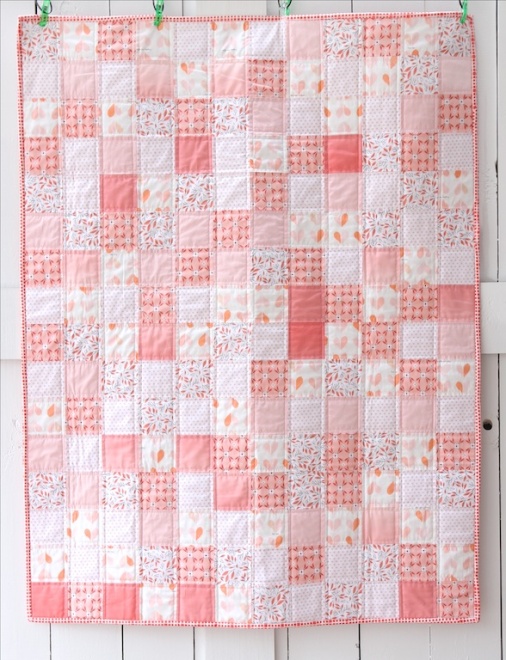
I didn’t want to cut these fabrics too much because I wanted the prints to really shine, so I decided on a 16-patch quilt. I cut 3.5″ strips to make the checkerboard pattern for finished 3″ squares. I think often this is the cutest pattern for baby quilts.
Moda came out with a line called “Ombre” which is a gradient solid and I have found this fabric to be a real workhorse in quilts – it looks as if you’ve used two or three or even four different solids, but you haven’t. And instead of trying to match a bunch of different solids, the Ombre fabric gives you a few different solids from the same piece of fabric. I love this fabric! So I used a fat quarter of Ombre Popsicle Pink and got several really pretty solids from it.
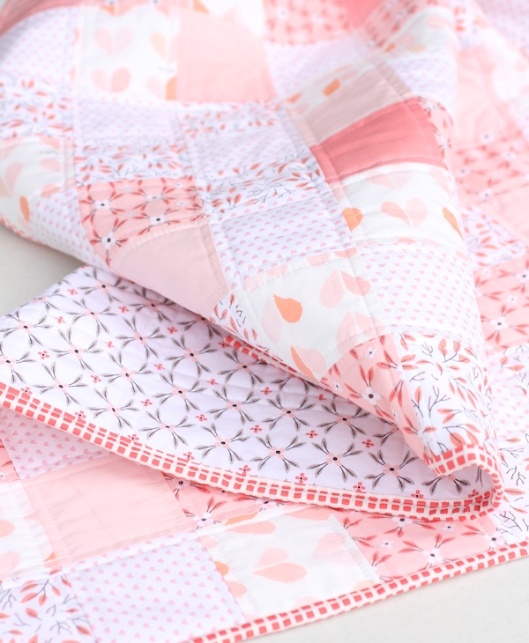
The other fabrics I used were Robert Kaufman Kona Solid in Baby Pink and Snapshot Hearts in Pink from Riley Blake. For the binding, when I held Squared Elements in Watermelon up to the quilt, it was the clear winner.
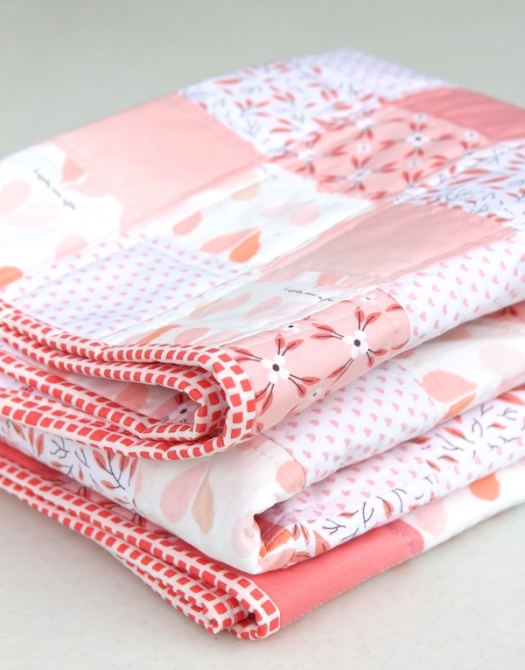
For the backing, I used Floral Lattice in White from the Magnolia Line (sadly, very hard to find now). Such a sweet design. I love this particular fabric so much and it was so fun to see it as a full backing on a quilt.
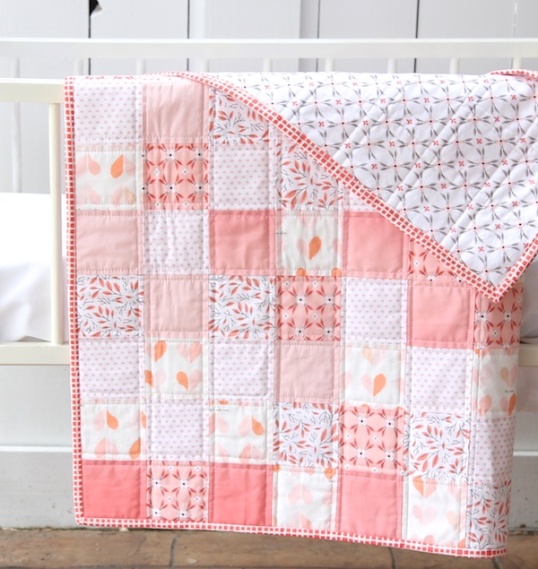
I used Warm and White 100% cotton batting for this quilt. This quilt finished at 36″x47″, a nice little baby quilt that you could use on the floor, snuggle up with or just as a pretty accent piece in a room.

Can you tell I love this quilt? I have put this quilt in my shop, but it’s hard to part with it!
This item has SOLD.
Hope you’re making something!
Elaine
I’m linking up to Sew Fresh Quilts, Blossom Heart Quilts and Free Motion by the River.

Coming soon . . .
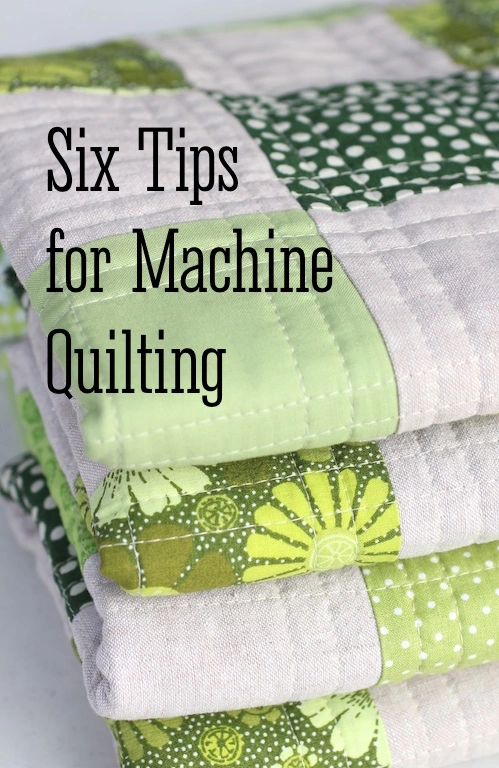
Are you new to machine quilting? You may have made tied quilts for a while and now want to explore machine quilting. I’ve seen a lot of advice given for how to machine quilt but I think most of it lacks a couple of points that are important for successful machine quilting. If you are having some issues or maybe just don’t know what needle to use, these can help.

I’m going to give you six tips for straight line machine quilting. However, if you are especially having problems with puckering or tucking on the backs of your quilts or skipped stitches on the tops of your quilts, there are easy solutions to these problems in the following tips.
These are tips that I feel will help you immensely, especially if you are wondering why you might be getting tucks on the back of your quilt or skipped stitches. Give them a try on your next quilting project.
SOME HELPFUL LINKS:
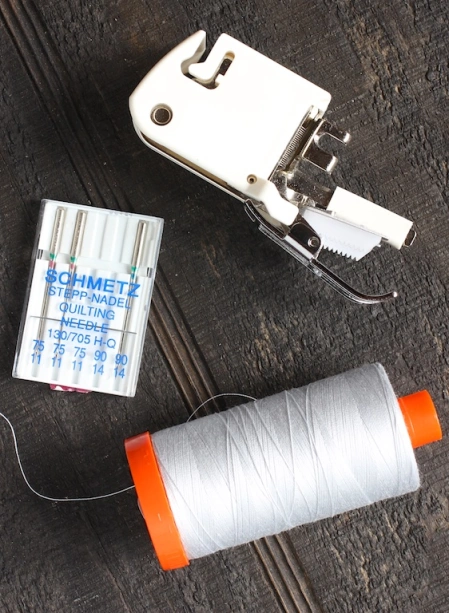
Machine Needle Guide by Schmetz
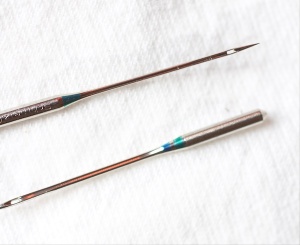
Ever have a needle laying around and you don’t know what it is? Stop guessing!
How to Identity your Schmetz Needle by the Color Band
Have a great week!
Elaine
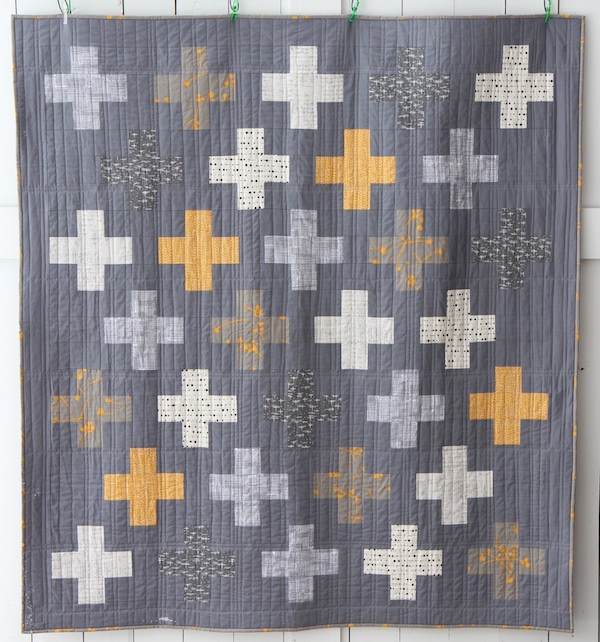
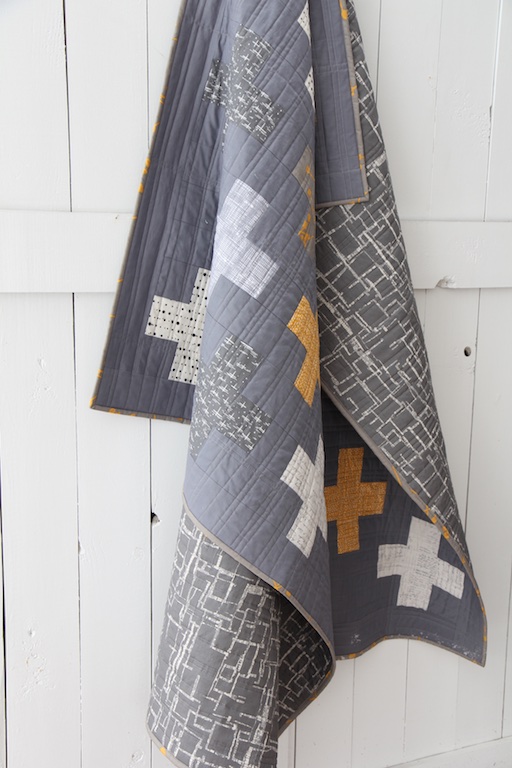
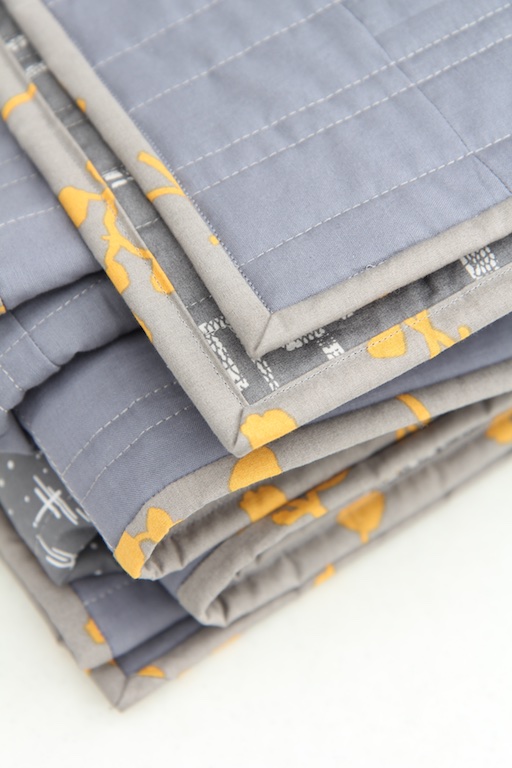
I finally got photos of my latest quilt and can share it with you. This quilt was so much fun to work on and it’s one of my favorite color schemes – greys and mustards. I felt like calling it “Grey Poupon”!
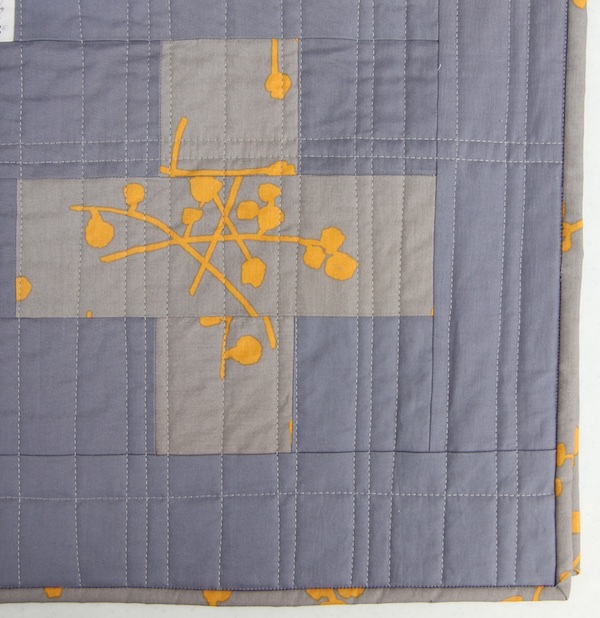
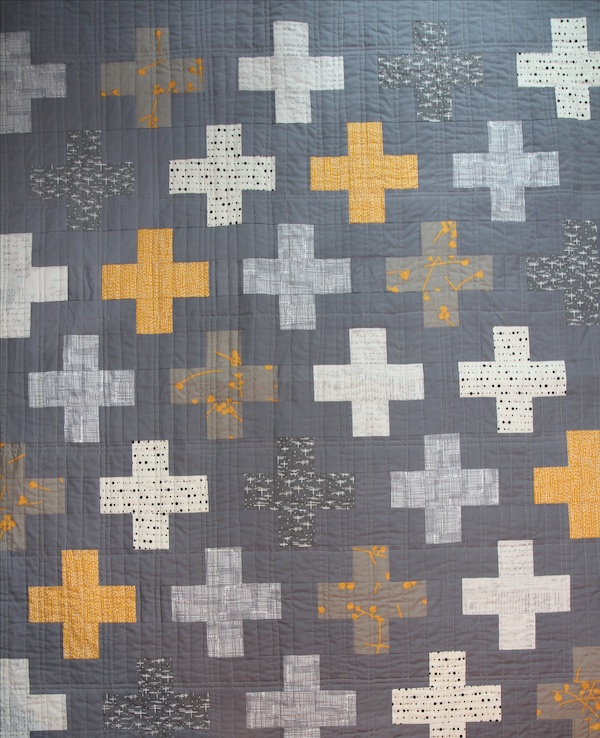
I love Plus quilts and I think they’re especially good for fabrics that you want to showcase, because you don’t have to cut the fabrics into tiny pieces. This quilt was sort of built off Katarina Roccella’s Buttonball fabric which I fell in love with. I picked out the coordinating fabrics to complement her fabric. I wanted to limit the number of different fabrics in the quilt and not have a dozen different things going on so I picked 6 prints plus a solid – Hawthorne Threads Elemental in Charcoal, Dear Stella Dash in Mustard, Robert Kaufman Baskeweave in Charcoal, Alison Glass Sunprint Ink, and the ever awesome Zen Chic Background Notes. The background solid is Robert Kaufman Kona Cotton in Steel.


I wanted an overall modern, urban kind of look for this quilt so for the background fabric, I chose another Katarina Roccella fabric, Maze in Alley. It gave me the look I wanted and it’s a terrific background fabric because it’s not directional and is easily pieced.
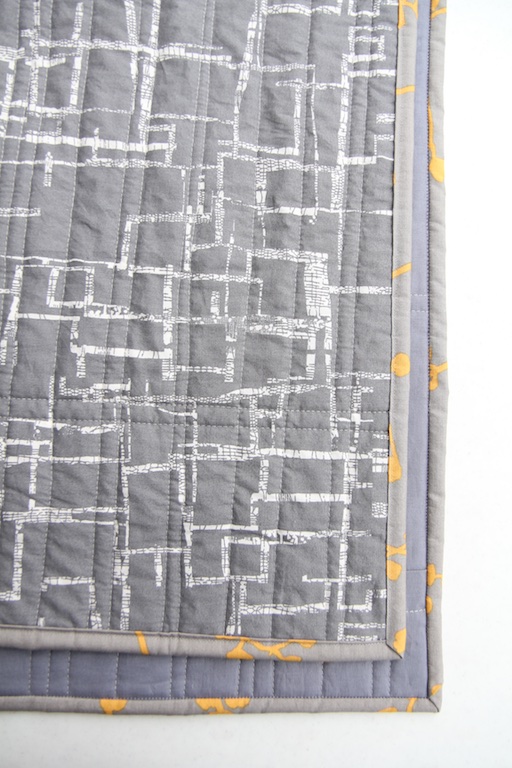
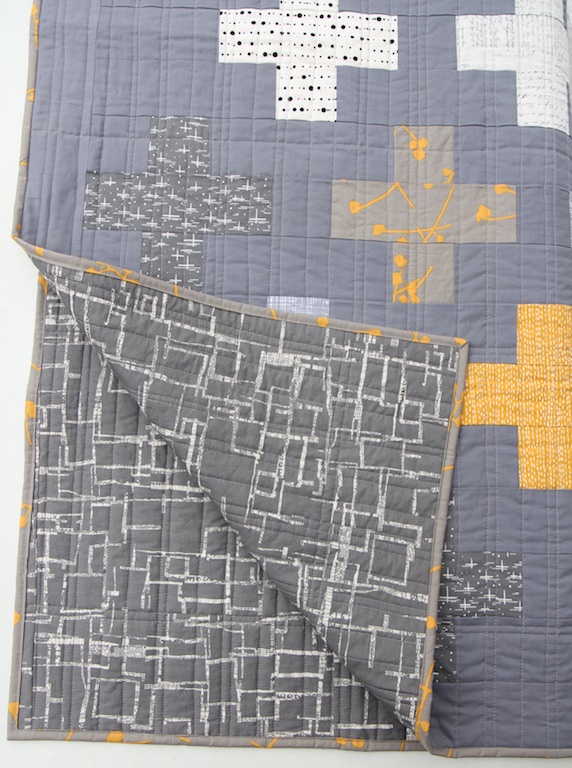
In keeping with a modern look, I quilted this in straight vertical lines in differing widths. That was fun! I used my seam guide and attached it to my walking foot. After I quilted the entire thing in one direction, I turned the quilt and just did a very few lines the other direction.

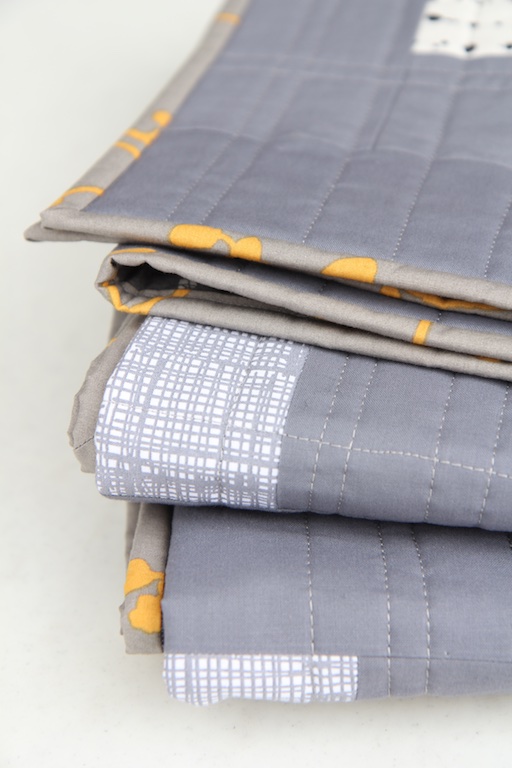
When it came time to bind the quilt, I tried a variety of the usual stripey fabrics and didn’t like any of them. As I was standing there pondering why it was so hard to pick out a binding fabric, I glimpsed the Buttonball fabric again and thought, “gee that might make a great binding” and it sure did! I love the way it finished the quilt and I love the looser pattern on the binding.
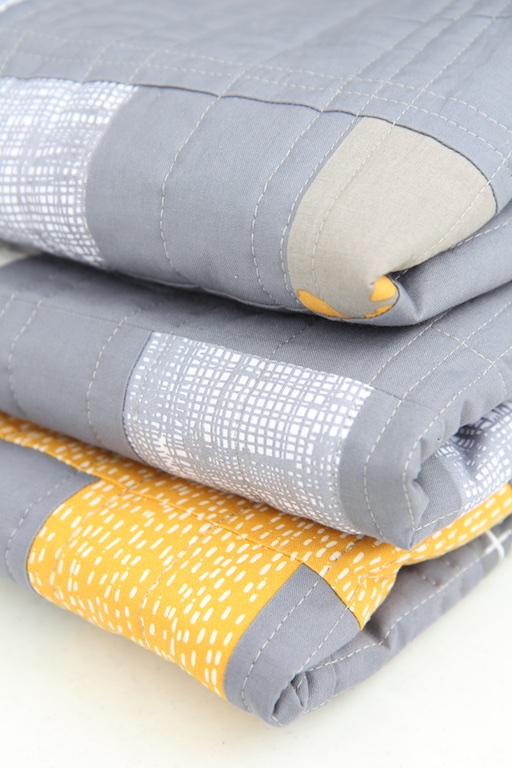
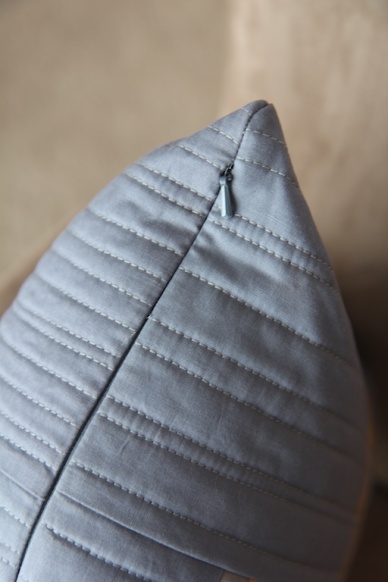
The finished quilt is 62″ x 67″, a large throw that you can really curl up with. I decided to make a matching pillow and thought it would be fun to make it a reversible pillow with one Plus print on one side and a different Plus print on the other side. So that required a zipper instead of an envelope back and I decided to an invisible zipper. A little bit more work, but definitely worth it.


This quilt is on its way to its new owner!
Hope you’re making something,
Elaine
Linking up to Friday Fabric Frenzy, Crazy Mom Quilts, My Quilt Infatuation and Sew Fresh Quilts!
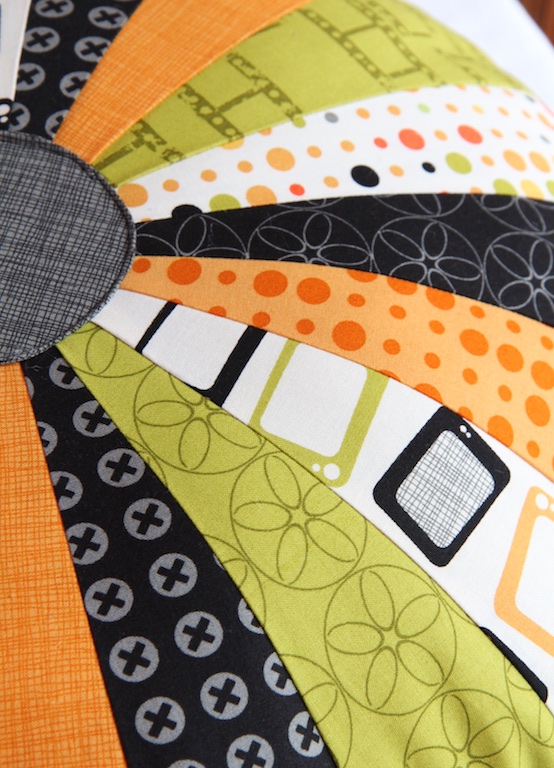
Have you guys ever watched Man Sewing with Rob Appell? If you haven’t, check him out sometime. He does sewing tutorials on You Tube and he’s funny and inspiring and makes everything look easy! He did an interesting podcast with Abby Glassenberg (another person you should check out – sign up for her great newsletter). This pillow is a tutorial he did called Dresdan Template Pillow. It’s a quick and easy project.

Because I am the biggest Zen Chic fan, I think I was drawn to this project because Rob used fabrics from the Reel Time collection. I love Brigette Heitland’s designs and her fabrics seem to creep into almost every one of my quilts somehow.


This was a fun little project that you can whip up in an evening – just wanted to share it with you.
I hope you’re making something!
Have a great weekend,
Elaine
Linking up to Crazy Mom Quilts and Forth Worth Fabric Frenzy Friday

After I finished my Little Owl Quilt, I had quite a few scraps leftover and wanted to use them in some way. I had an 18″ x 18″ pillow form laying around and thought a reading pillow would be nice. There’s a bunch of them on Etsy. I just pieced and quilted a pocket front in the same width as the pillow and sewed it on the front of a piece of fabric the same size as the pillow. I think it’s a fun pillow, especially to take with you somewhere and have your child be able to snuggle and have his books along.

I love that bias binding!

For the baby bib, I used April Rosenthal’s Charm Bib pattern. I altered a few things with it, though. I added a layer of batting to it and quilted it in the same manner as the quilt. I used a little piece of quilting fleece for the back. I also did a binding on it just like I do on my quilts, with an invisible stitch on the front made my quilting in the ditch. I used bias binding again, like on the baby quilt.


The bias binding on the bib was a little tricky and required good “pinning” and a slow needle. This is how I attached the binding to the bib. Thank goodness for Wonder Clips! That would have been harder to do with pins.

These were so fun to make. Can’t wait to give this cute set to the expecting mother!
Thanks for popping in!
Elaine
Linking up to Crazy Mom Quilts, Sew Fresh Quilts, Free Motion By the River
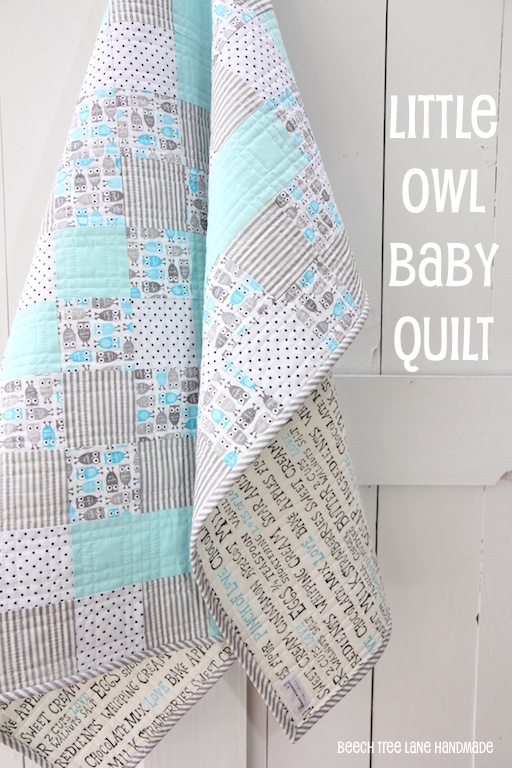
What pure fun making this quilt was! You forget how fast baby quilts are to make until you realize that it’s binding time and the quilt is almost finished and it seemed to just fly out of the sewing machine.
(Update: I have received many requests for a pattern for this quilt. You can make this quilt yourself by using this pattern that I have written for a patchwork quilt.)
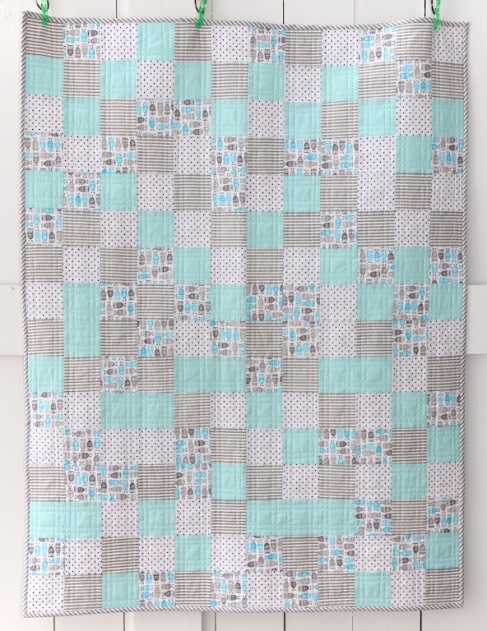
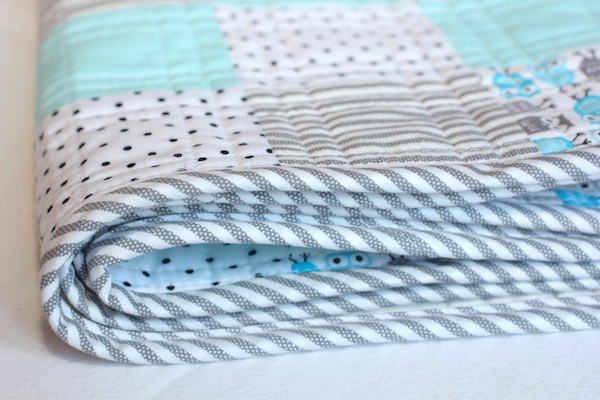
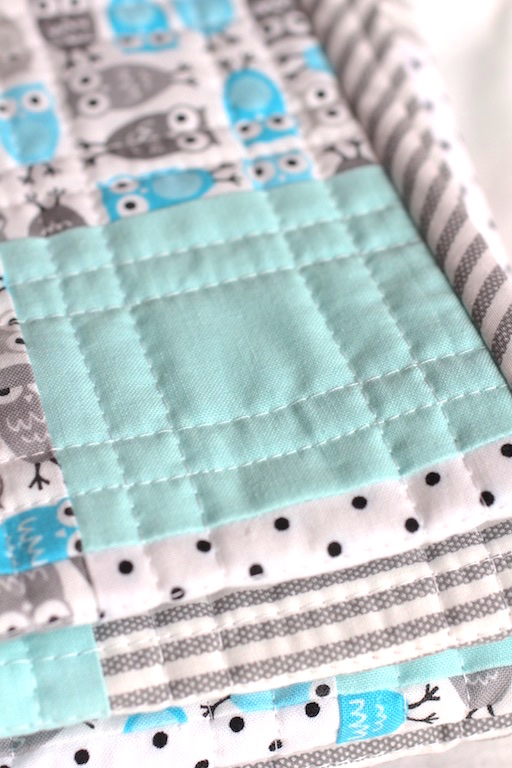
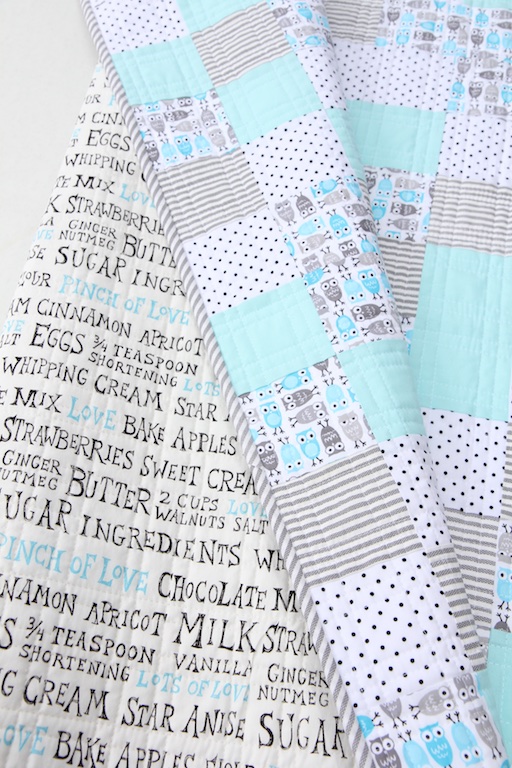
I made this quilt using what I think is a great combination to make a unified but interesting look: start with a cute motif fabric, add a solid, a little dot and a stripe. Four different fabrics that can create a bit of a scrappy look but looks cohesive. I started with a fabric from Anne Kelle’s Urban Zoology line for Robert Kaufman. This line of fabrics is so adorable and is perfect for stashing for future baby quilts. The little dot is Pinhead in Ebony from Michael Miller. The solid is Robert Kaufman Kona Cotton Solid in Aqua and the little grey stripe is probably one of my all time favorite stripes – Animal ABCs small stripe in Grey – I kind of hoard it in my stash.
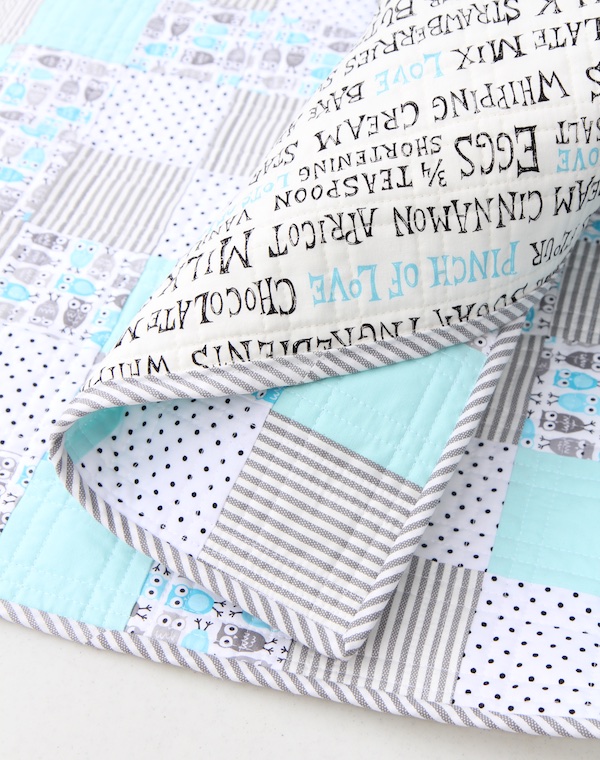
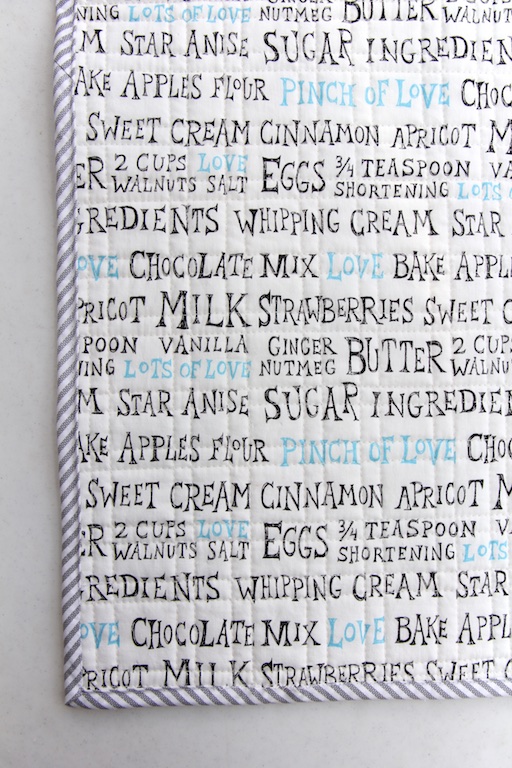
The backing fabric – eeeeek! It’s called Key Ingredient in Natural Blue from Chicken in the Ktichen Collection by Alexander Henry. I’ve had this in my stash for a while and couldn’t wait to use it.

This quilt was made using 16-patch blocks, with finished squares that were 3″ each. To make these, I cut 3.5″ x 16″ strips from four different fabrics and sewed them together to make a variety of 4-strip “A” sets. I could have cut WOF (width of fabric) strips, but I felt that sewing those together wouldn’t have given me the mixed variety of sets I wanted. I subcut these “A” sets into 3.5 strips and then placed them out until I got a scrappy layout I liked. I then sewed them into 4-strips blocks and sewed the blocks together in rows. There were 3 blocks across and 4 blocks down to make a quilt that finishes at 47″ x 35.5″ (including binding).


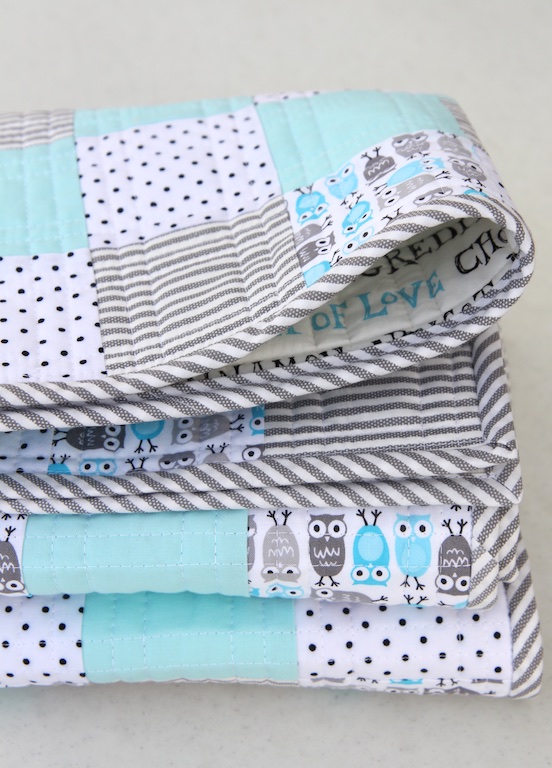
For this quilt, I thought I should make bias binding instead of my usual cross grain binding. I thought the stripes on the diagonal added a little bit more interest, plus it’s more durable – especially for a baby quilt that might get washed more. To make bias binding, I use a Binding Buddy ruler by June Tailor that makes it a snap. I have the 2.5″ one but they also make a 2.25″ ruler. Makes it super simple! I think it’s also less of a hassle than making continuous bias binding – way too much fiddling for me. If you want to see how I apply binding, here is my tutorial on that.
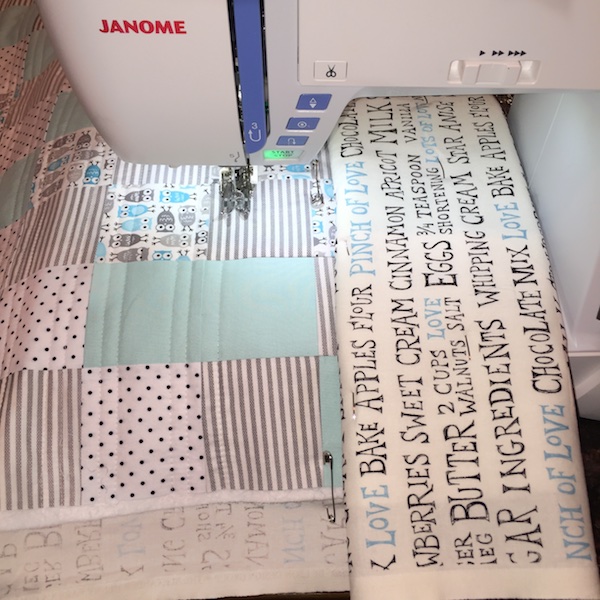
I quilted this with Aurifil 50 wt. thread and did double vertical quilting lines along all the squares. I used white on top and a sand color in the bobbin, to match the backing fabric. I used Warm & White for the batting.
I was almost sorry to have this quilt finished, it was so fun!
I hope you’re making something! Thanks for stopping in,
Elaine
I’m linking up to My Quilt Infatuation, Sew Fresh Quilts, Blossom Heart Quilts and Free Motion by the River
