(Note: After many requests, I have now written a PDF pattern for this quilt! You can find it here.)
This is my last quilt for 2017 and I wanted to get it posted before the holidays! I photograph my quilts outside and so this was a real challenge because it was 17° and we were going to get 6 inches of snow that day. I sort of had one shot to get some pictures. The rest of the week would have too much snow to be able to shoot. I was freezing, but managed to get decent photos. I’ve had a few inquiries asking if there is a pattern – no, there isn’t but I’m going to give you my cutting instructions and hope that helps.

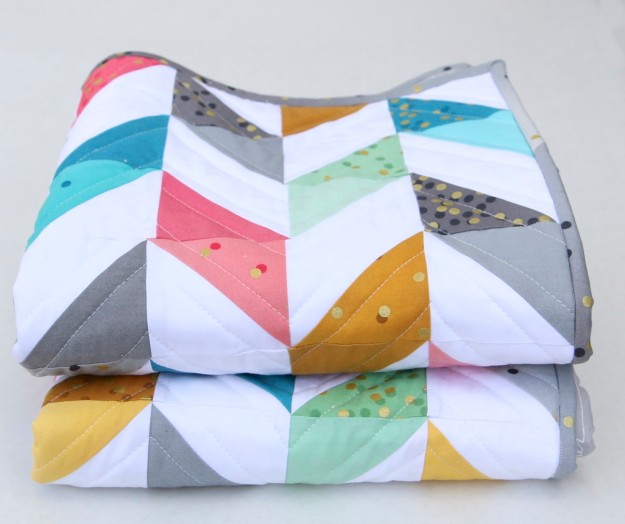
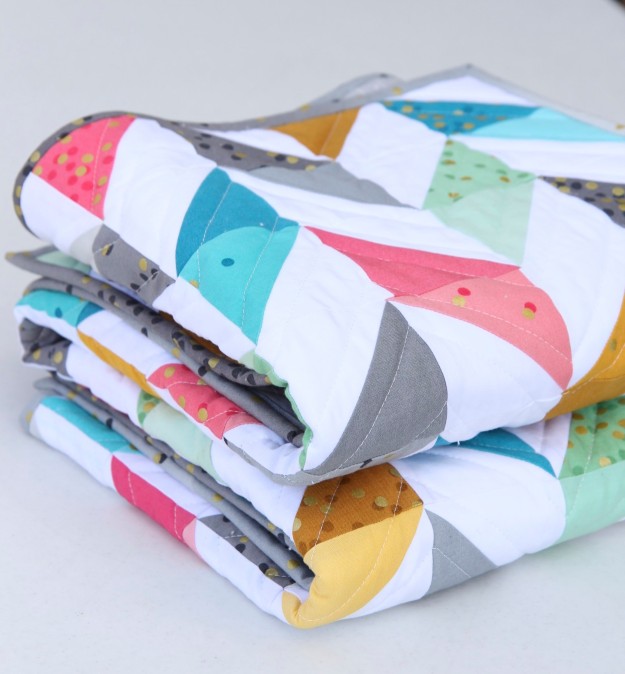
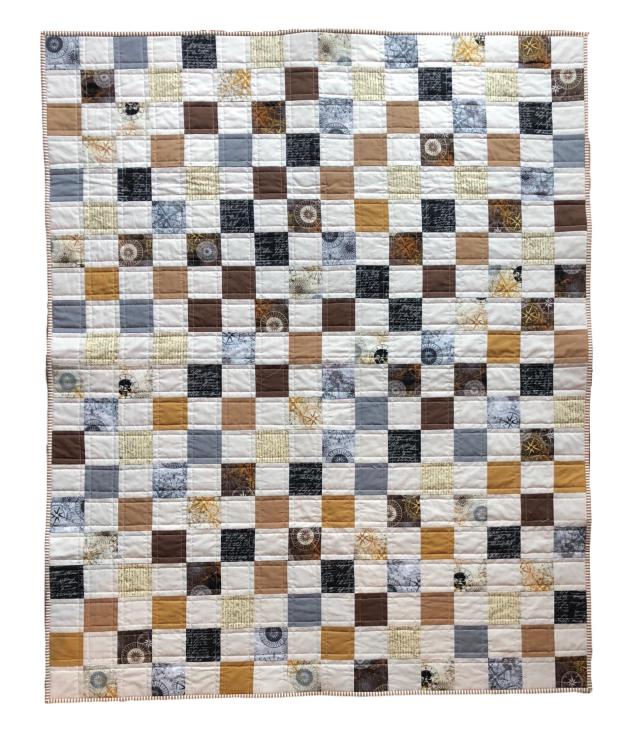
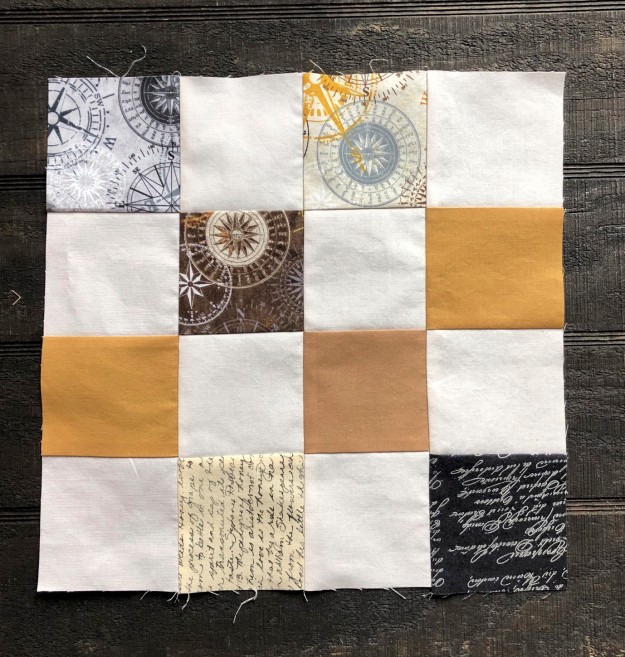
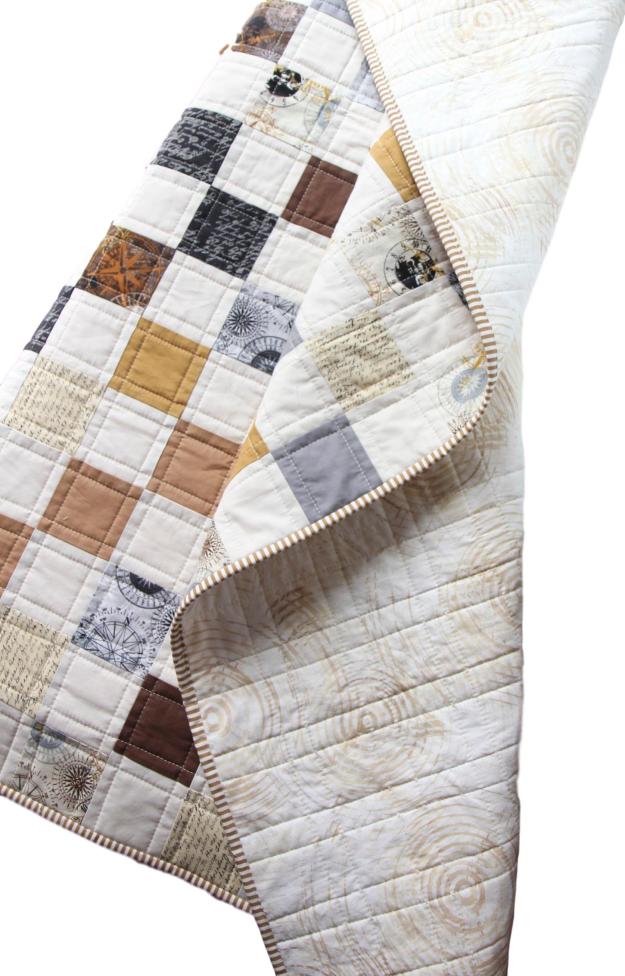
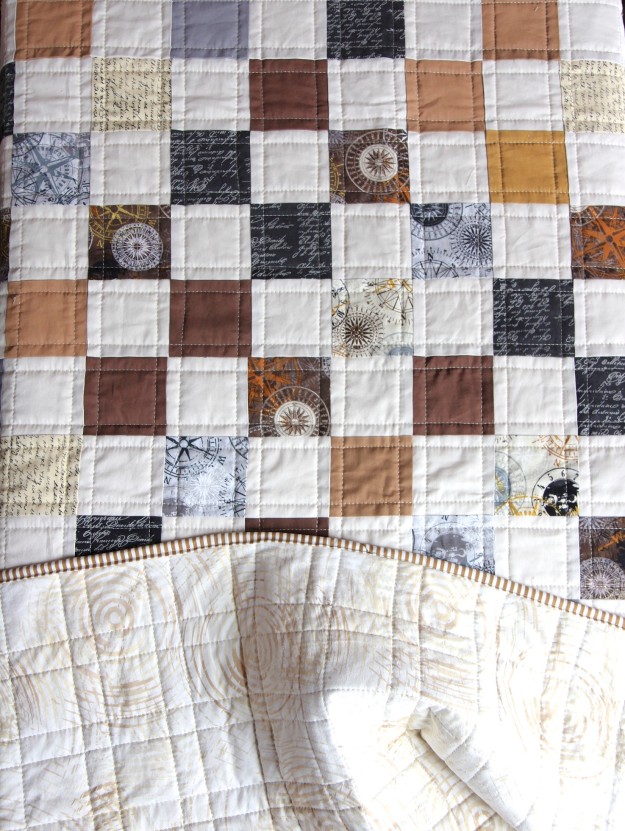
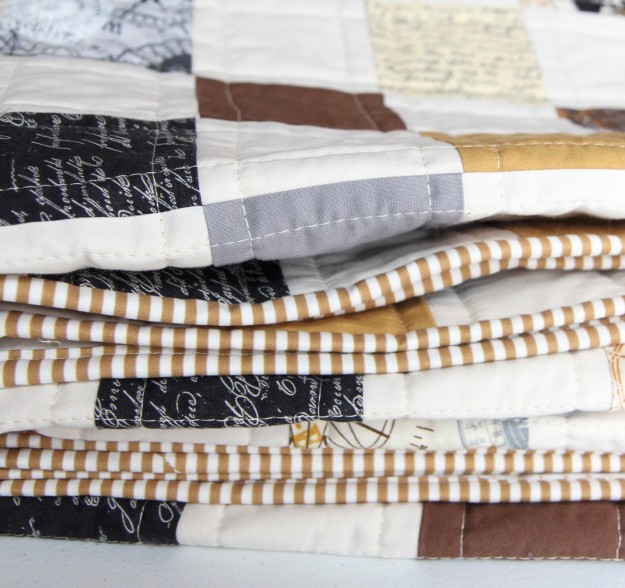
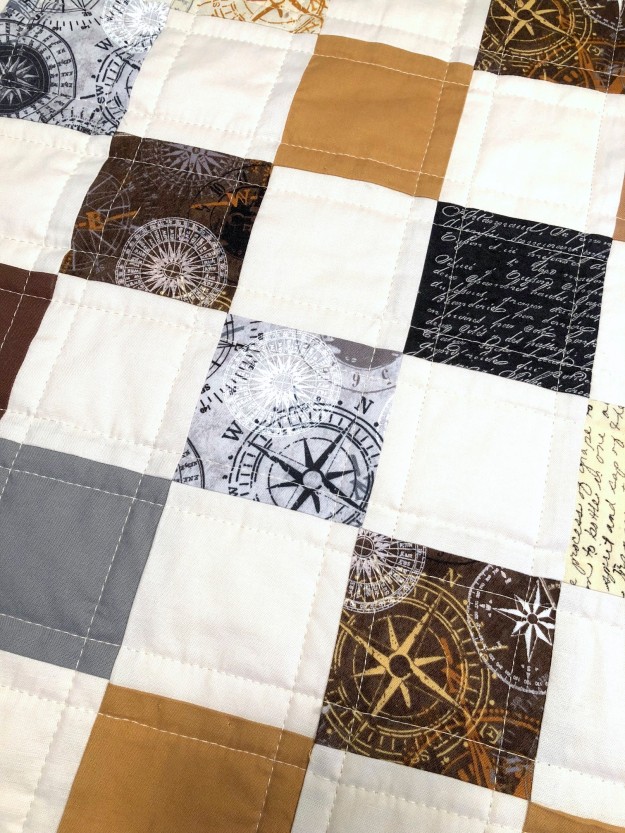
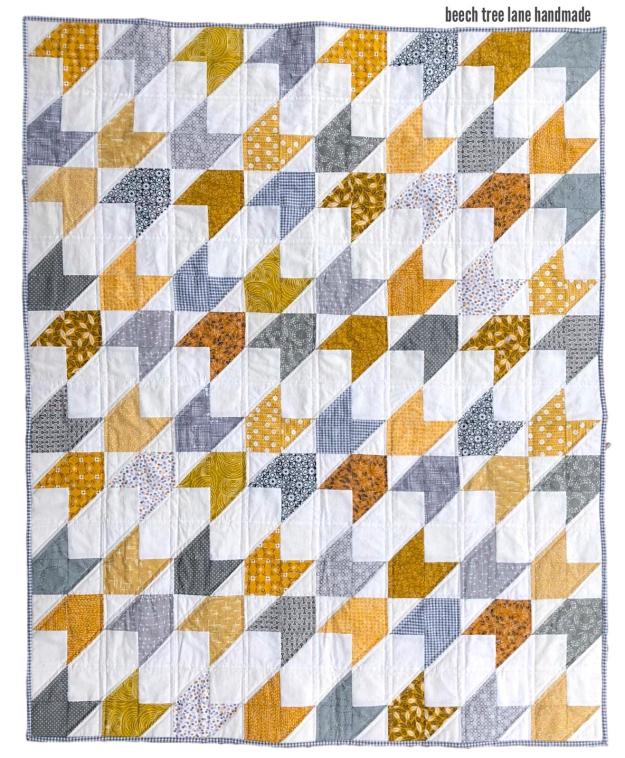
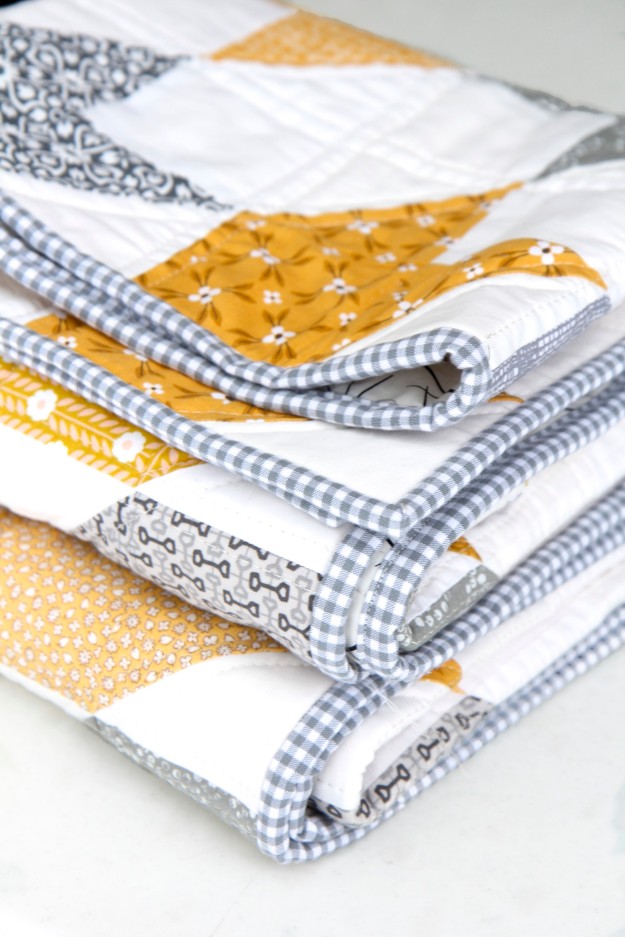
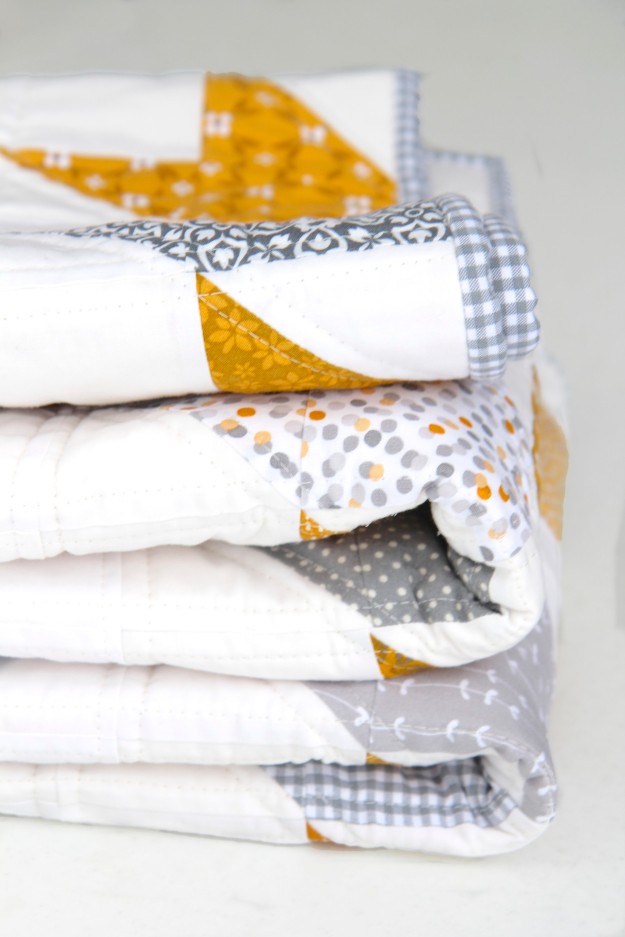
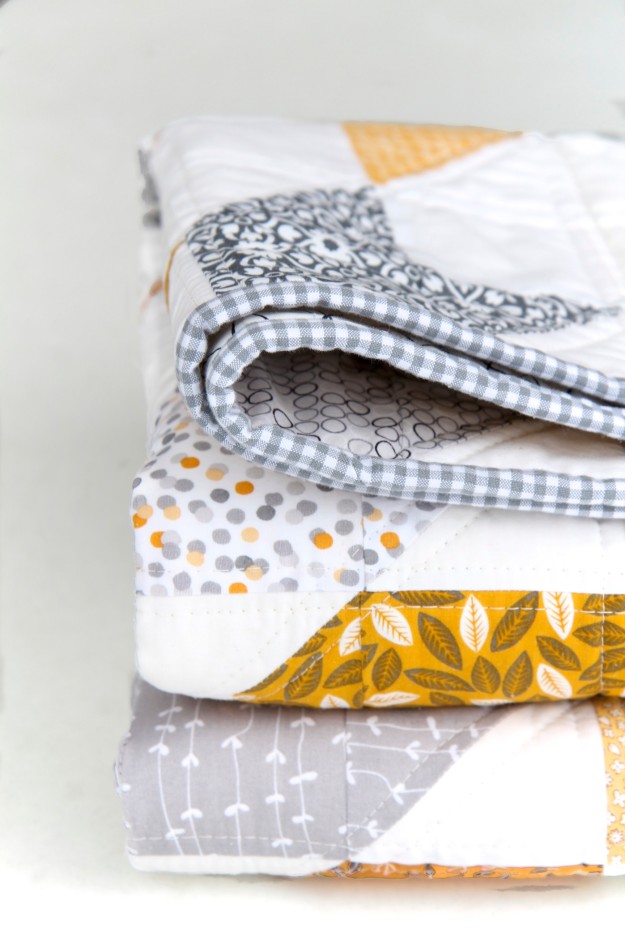
I can’t help myself with mustard and greys together – I just love that color combination. The big reason for making this quilt, though, was that I wanted to experiment with a new type of batting. I wanted a bigger, heavier quilt but still wanted to machine quilt. I have used two layers of Warm and Natural in the past, but found that too stiff. A woman in a quilt shop suggested Quilter’s Dream. They make several different lofts and I wanted to see if I could use the heaviest loft, Supreme, and still machine quilt successfully. The answer was yes, although it takes a little muscle to manipulate the quilt as you are quilting it! The quilt ended up having a very nice heft to it without being bulky and is perfect for curling up with on the sofa. Also, I believe the Quilter’s Dream is less stiff than Warm and Natural. It is more expensive, but worth it if a little more suppleness is important to you.
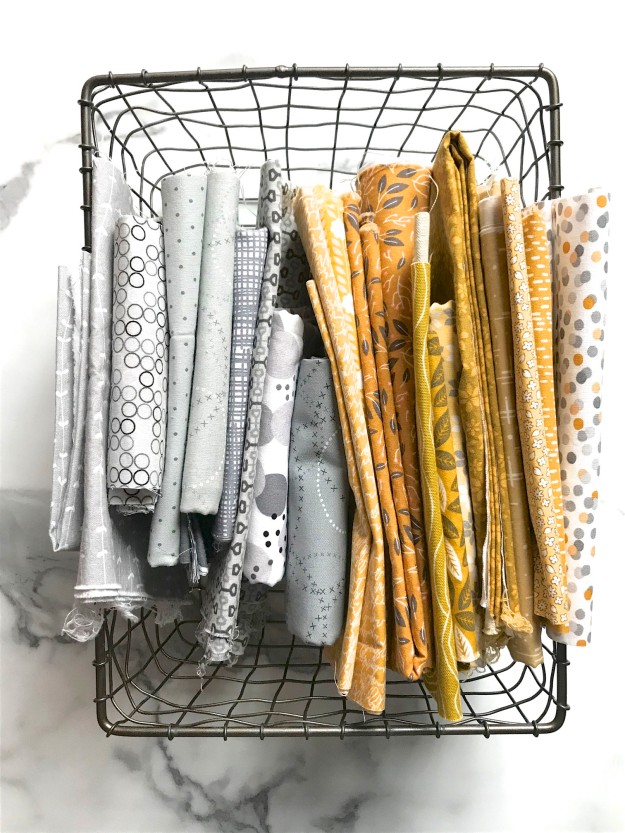
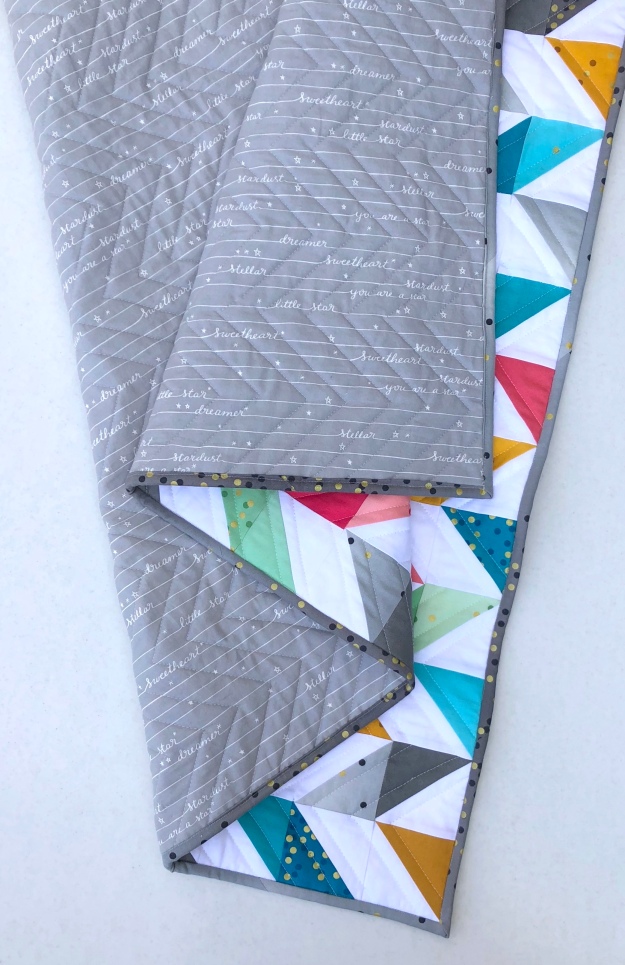
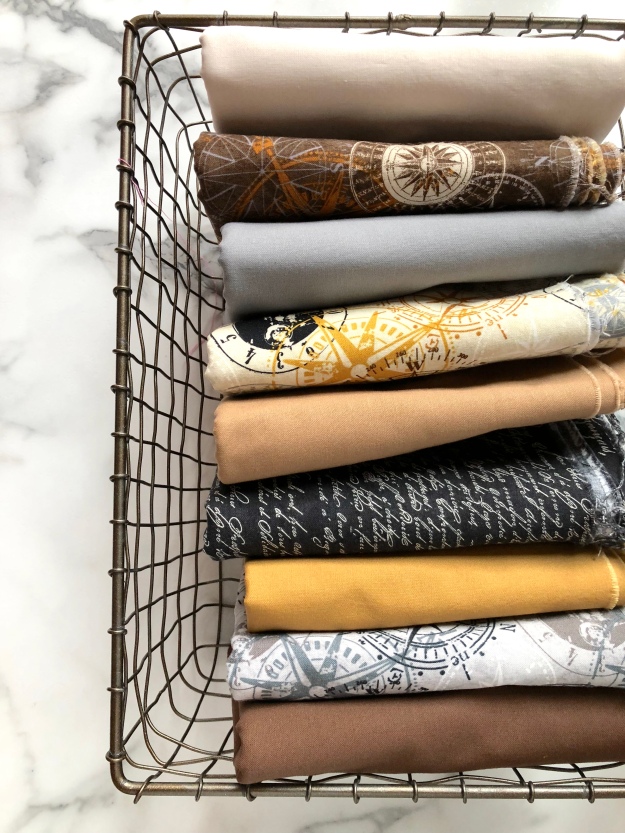
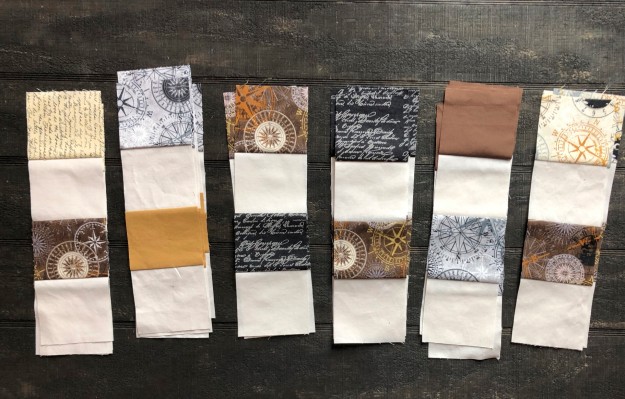
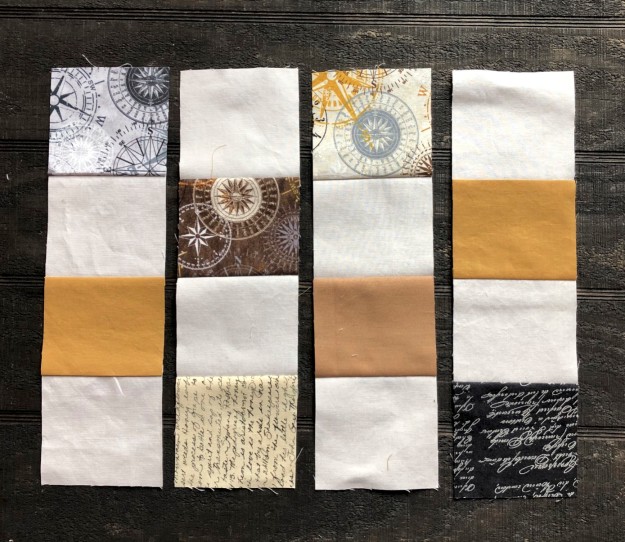
The fabrics were all from my stash. Some of the mustard fabrics were from one of my all time favorite lines, Magnolia, from Camelot Fabrics. Some of the greys were from Zen Chic for Moda, Robert Kaufman Basketweave and Light and Shade. Many of these fabrics are no longer available but you can find some from Etsy sellers.
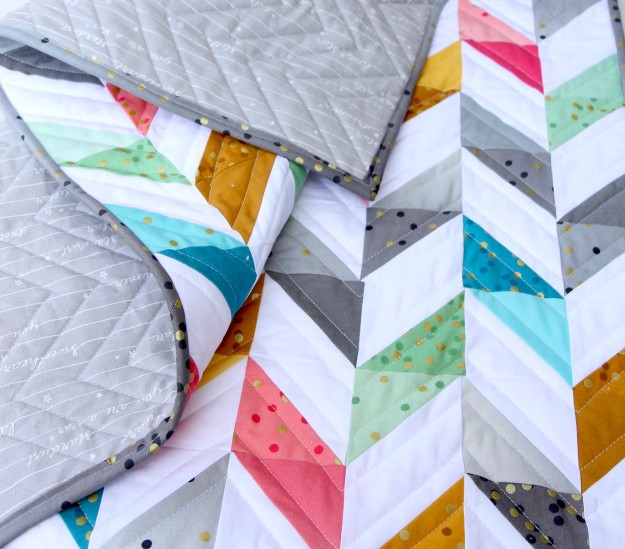
My background color for this was Robert Kaufman Kona Cotton Solid in Snow.
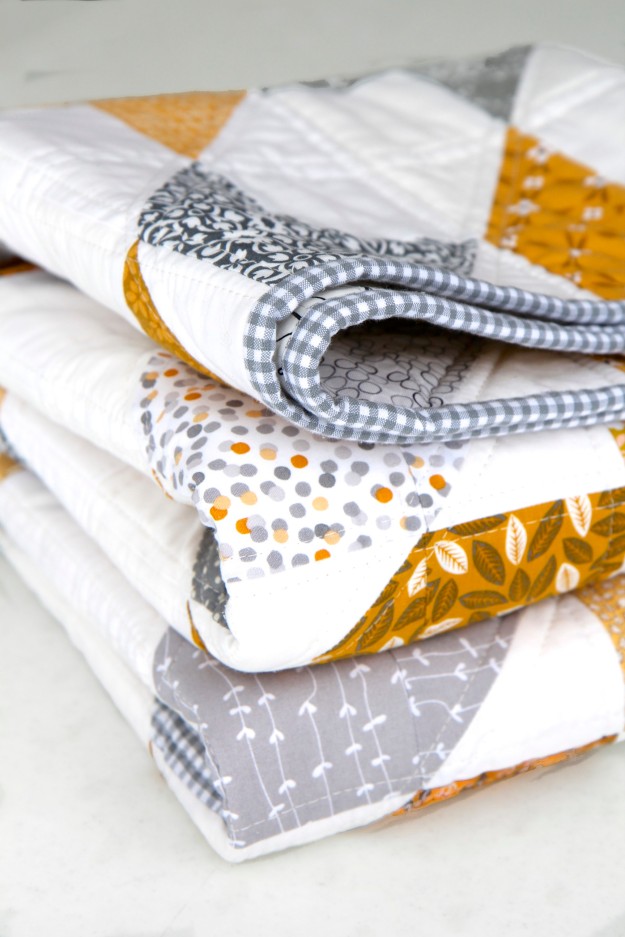
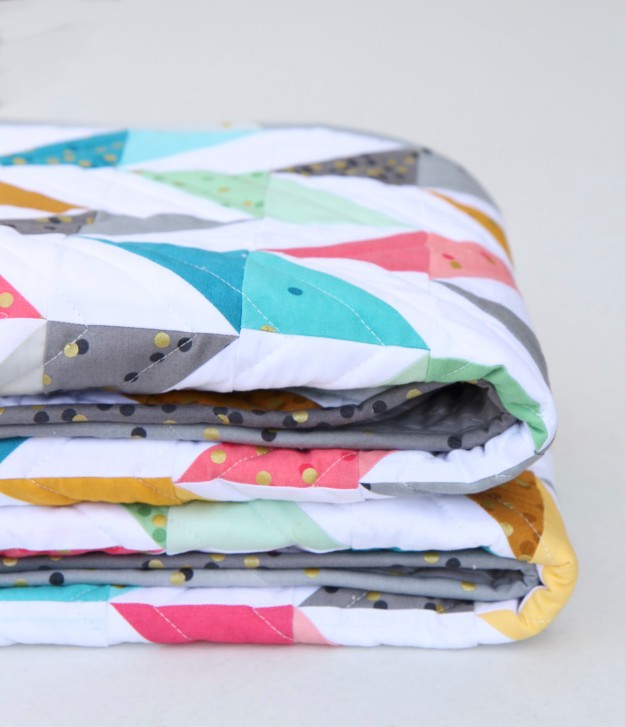
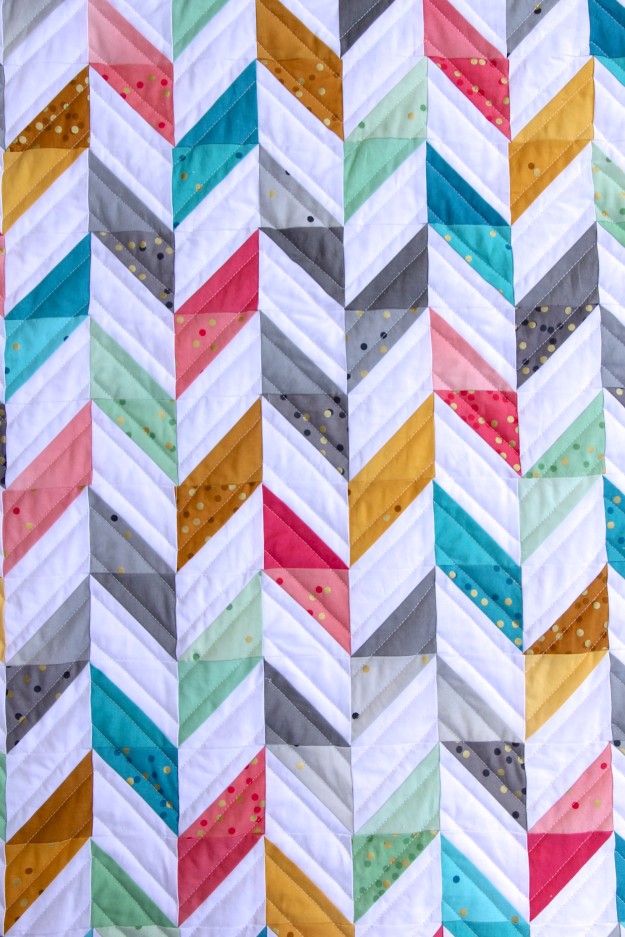
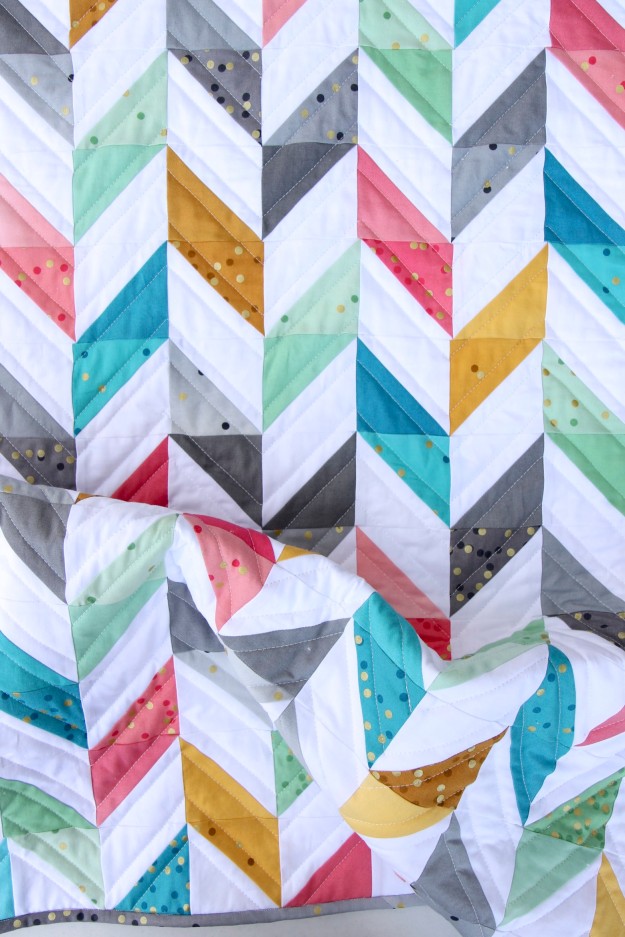
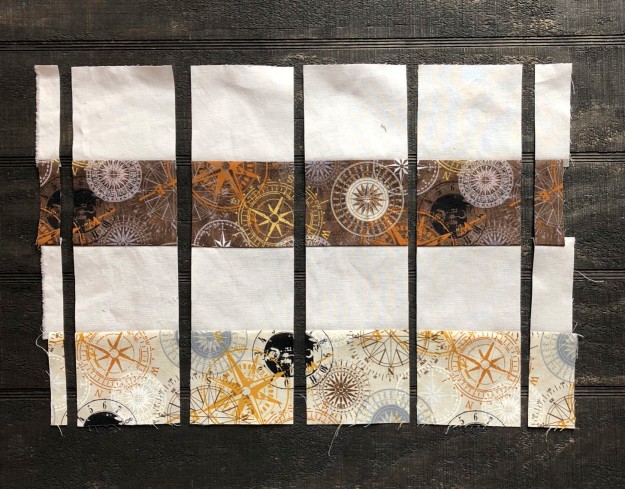
The quilt ended up being 48″ x 60″, which I consider about the perfect throw size. I played around with the arrow blocks and how to lay them out – there were so many good patterns they could make. I made 80 arrow blocks total. I used 20 different print fabrics and made 4 arrow blocks for each fabric.
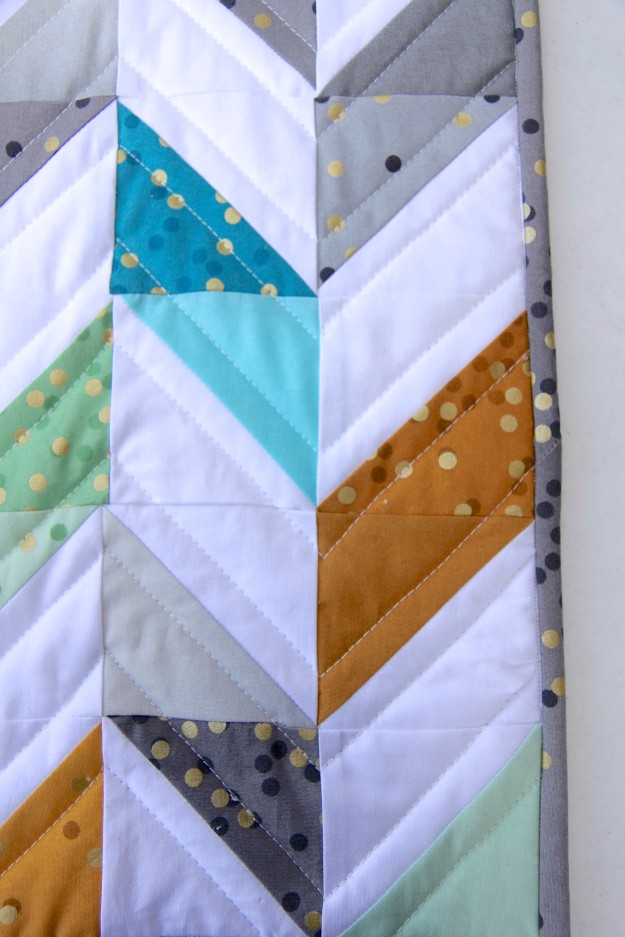
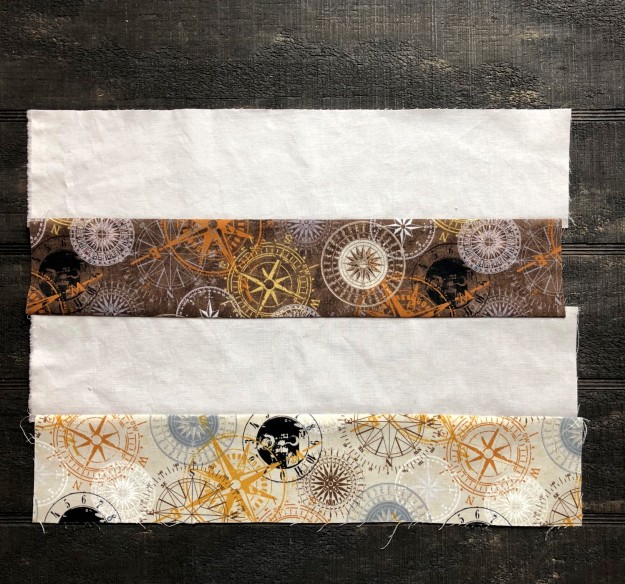
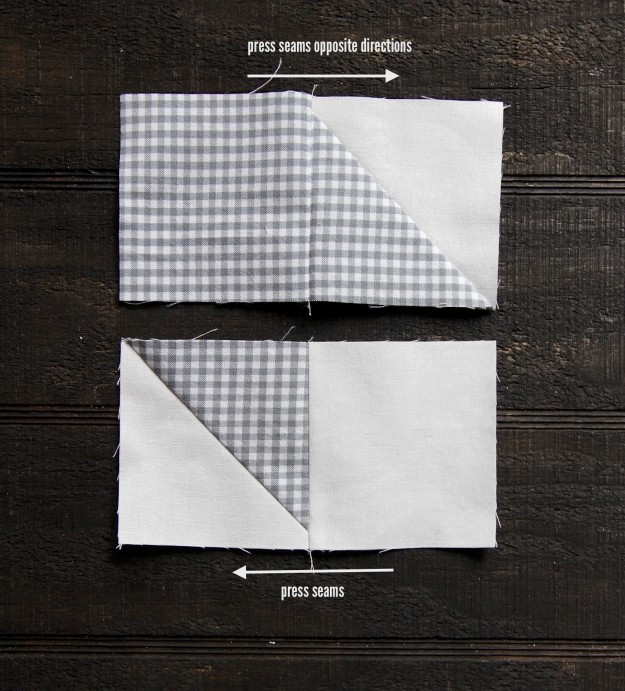
Each arrow block requires: (1) 3.5″ square print, (1) 3.5″ square background and (2) Half Square Triangles of the print and the background.
Here is how I did my cutting:
For each different print fabric, I cut (4) 3.5″ squares (80 print squares total)
I cut (80) 3.5″ squares of the background fabric
I made (8) HSTs of each print fabric (160 HSTs total)
This is all you need to make the top. I made the HSTs by doing the eight-at-a-time method, which is fast and perfect for this top, because each different print fabric took just that many HSTs. I cut (1) 8.25″ square of each print fabric and (1) 8.25″ square of the background fabric. Then follow the eight-at-a-time method.


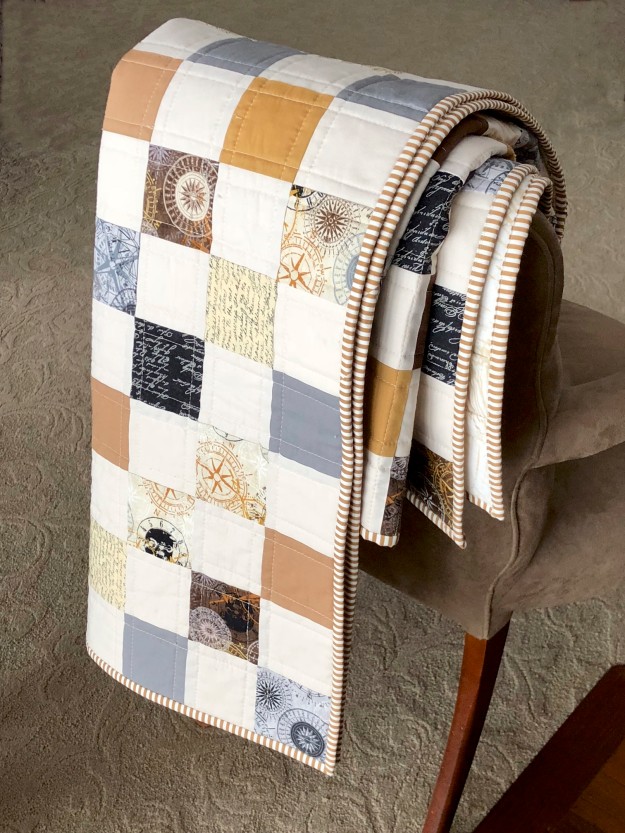
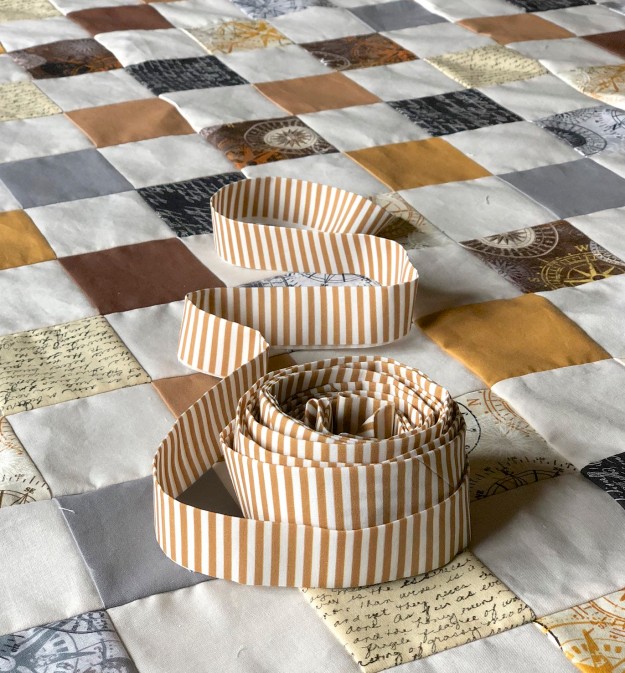
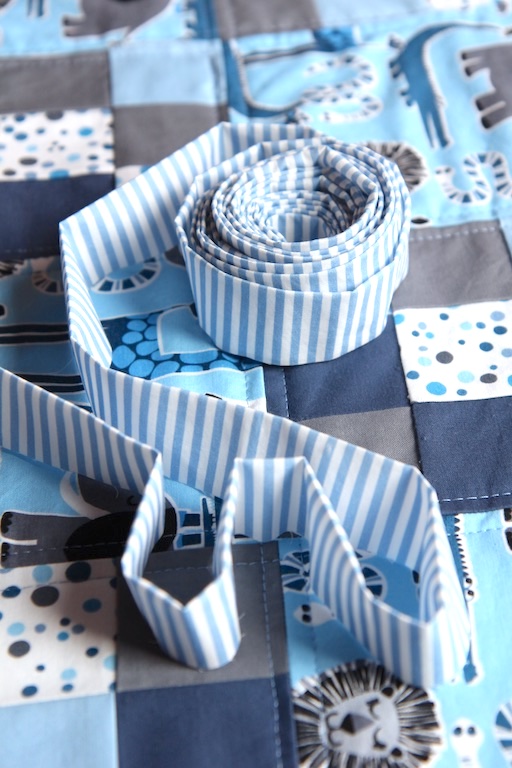
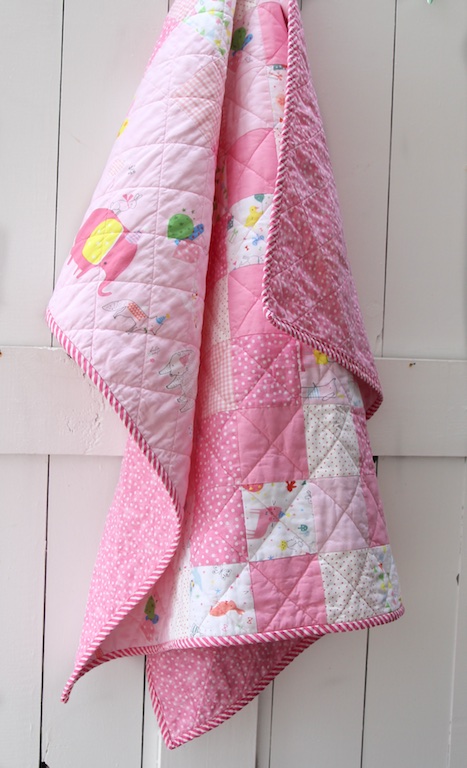
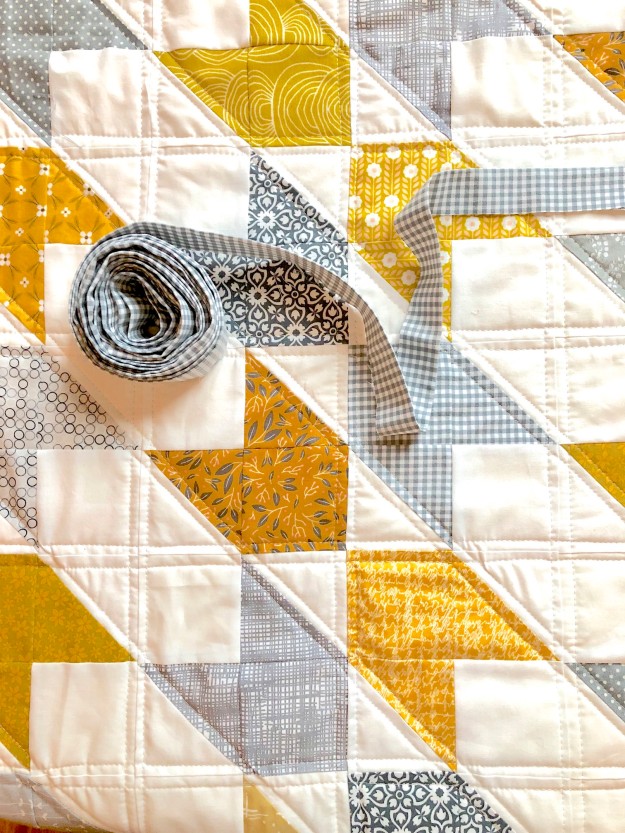
For the binding, I used my favorite gingham – Robert Kaufman Carolina Gingham in silver. This gingham comes in many colors and I love keeping it in my binding stash drawer. It was also one of the prints in the quilt. I made 2.5″ binding and used this method to attach it. I keep my walking foot on when I attach the binding now.
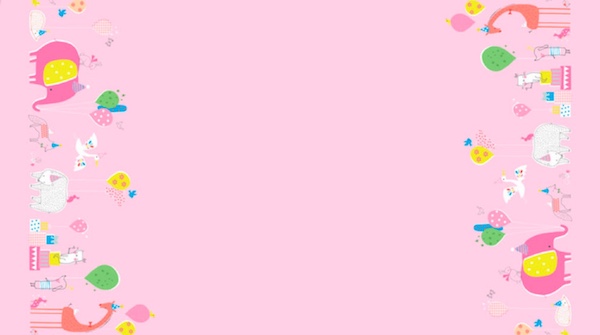
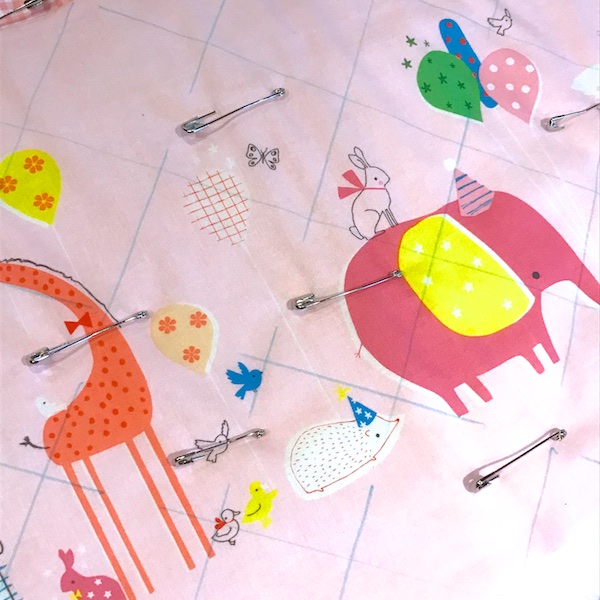
For the backing fabric, I used an old favorite from the Maker Line by Art Gallery called “Make and Pin”. I love this fabric and it makes a great backing fabric because of the random pattern. I used this method to make the backing, avoiding the dreaded cutting and piecing of the backing, which I hate.
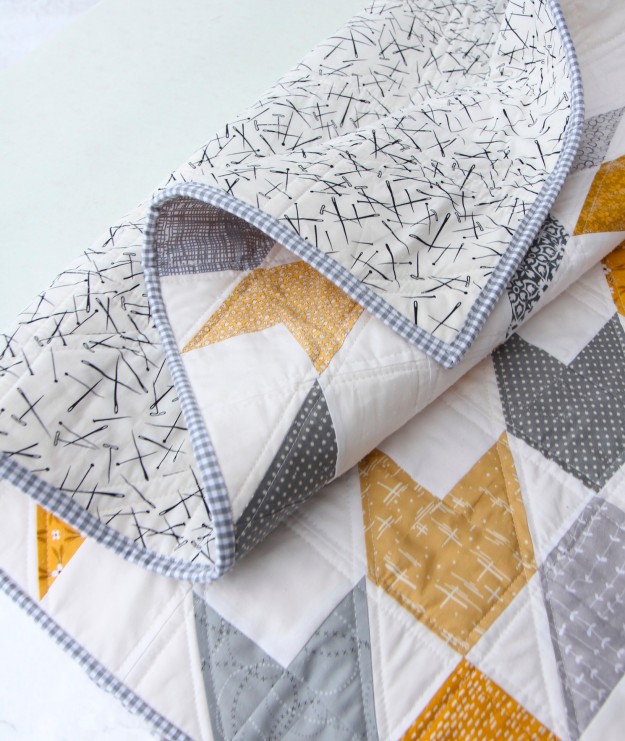

I machine quilted using Aurifil 40 wt thread in Muslin. It’s a little heavier than the 50 wt and I like the way it looks on the quilt. I used a 4.0″ stitch length with a walking foot.

I love the way this quilt turned out and I made it just for us, so I’m looking forward to curling up with it in the years to come.
I hope these cutting instructions are helpful to you. If you have any questions, just e-mail me.
Have a great holiday season and a wonderful New Year. See you in 2018!
Elaine